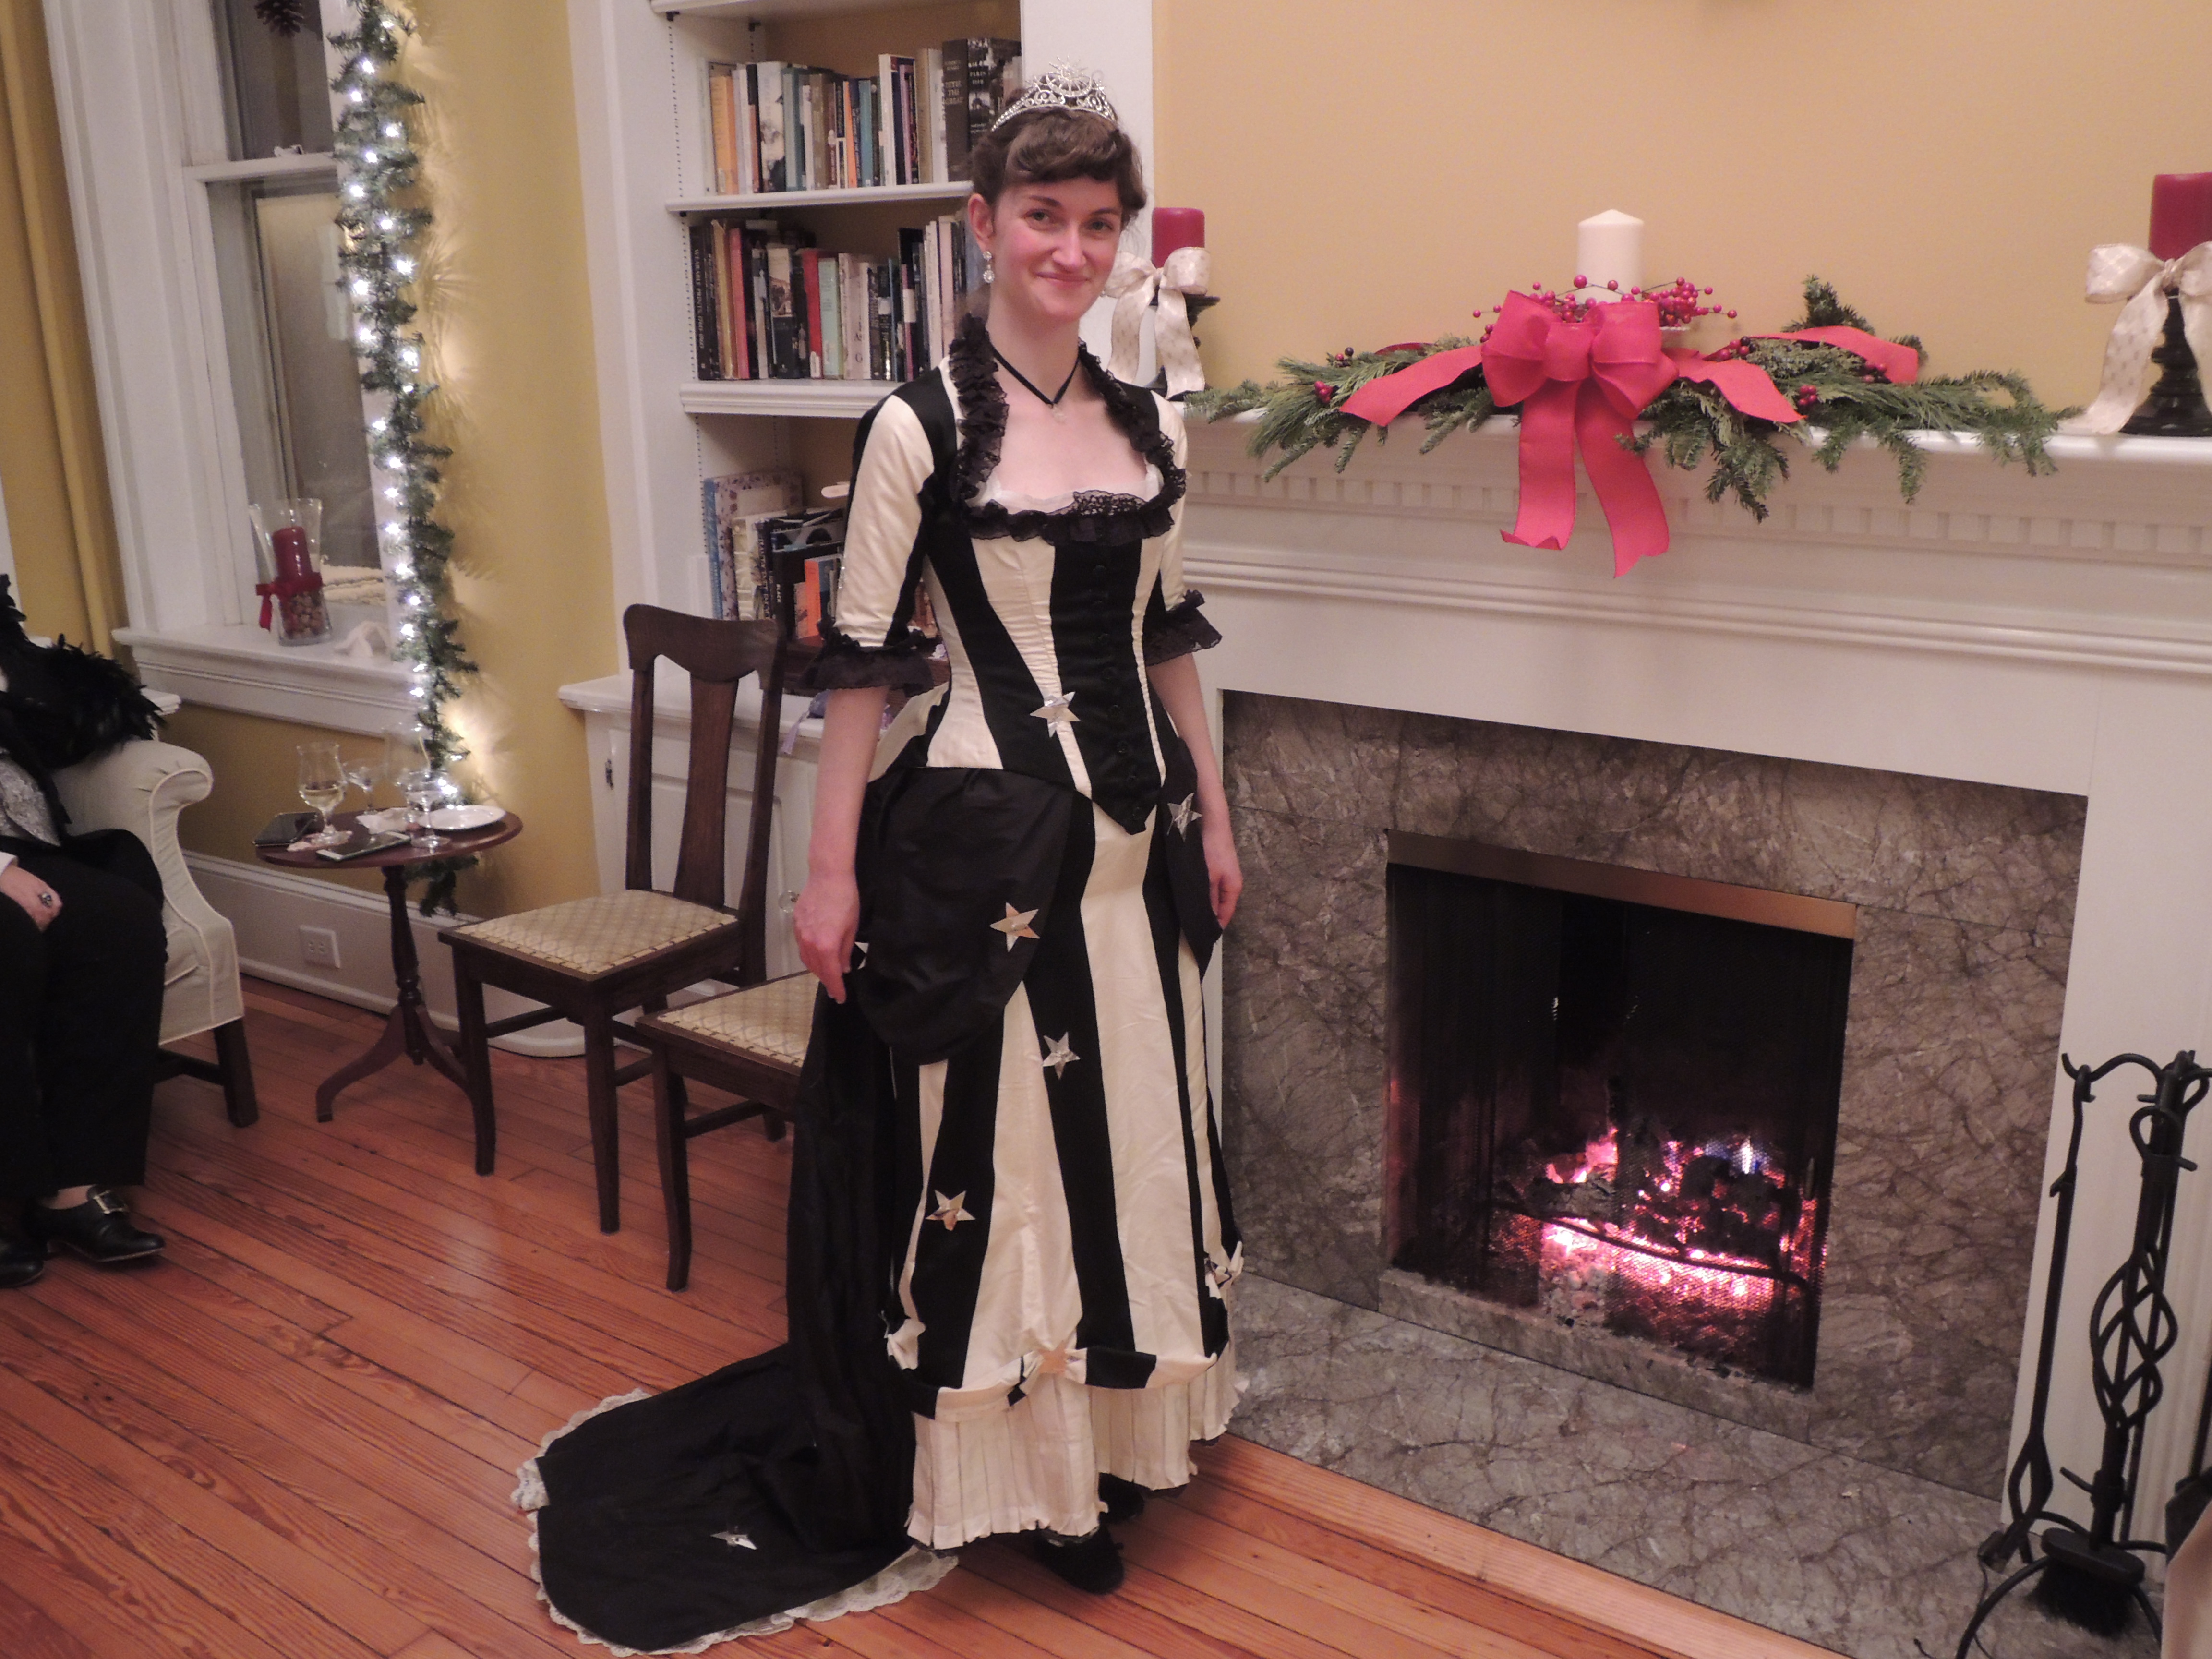
Black & Ivory Natural Form Dinner Dress
Part the First: Introductions
(In three parts, because this got long, and if you don't care about construction trials and travails, you can scroll down more quickly!) Happy 2019! And happy I'm-done-school! This should hopefully mean more sewing and maybe even posting. *crowd ooohs and ahhhhs*I finished this dress for our Belvidere Victorian Days event this past September. I've posted about it in the past, I think; a friend of ours does an 1882 British campaign in Egypt setup, so we've been doing Natural Form to coordinate for the past few years. And this past year, we decided to have a formal mess after-hours...so naturally we all needed dinner dresses!

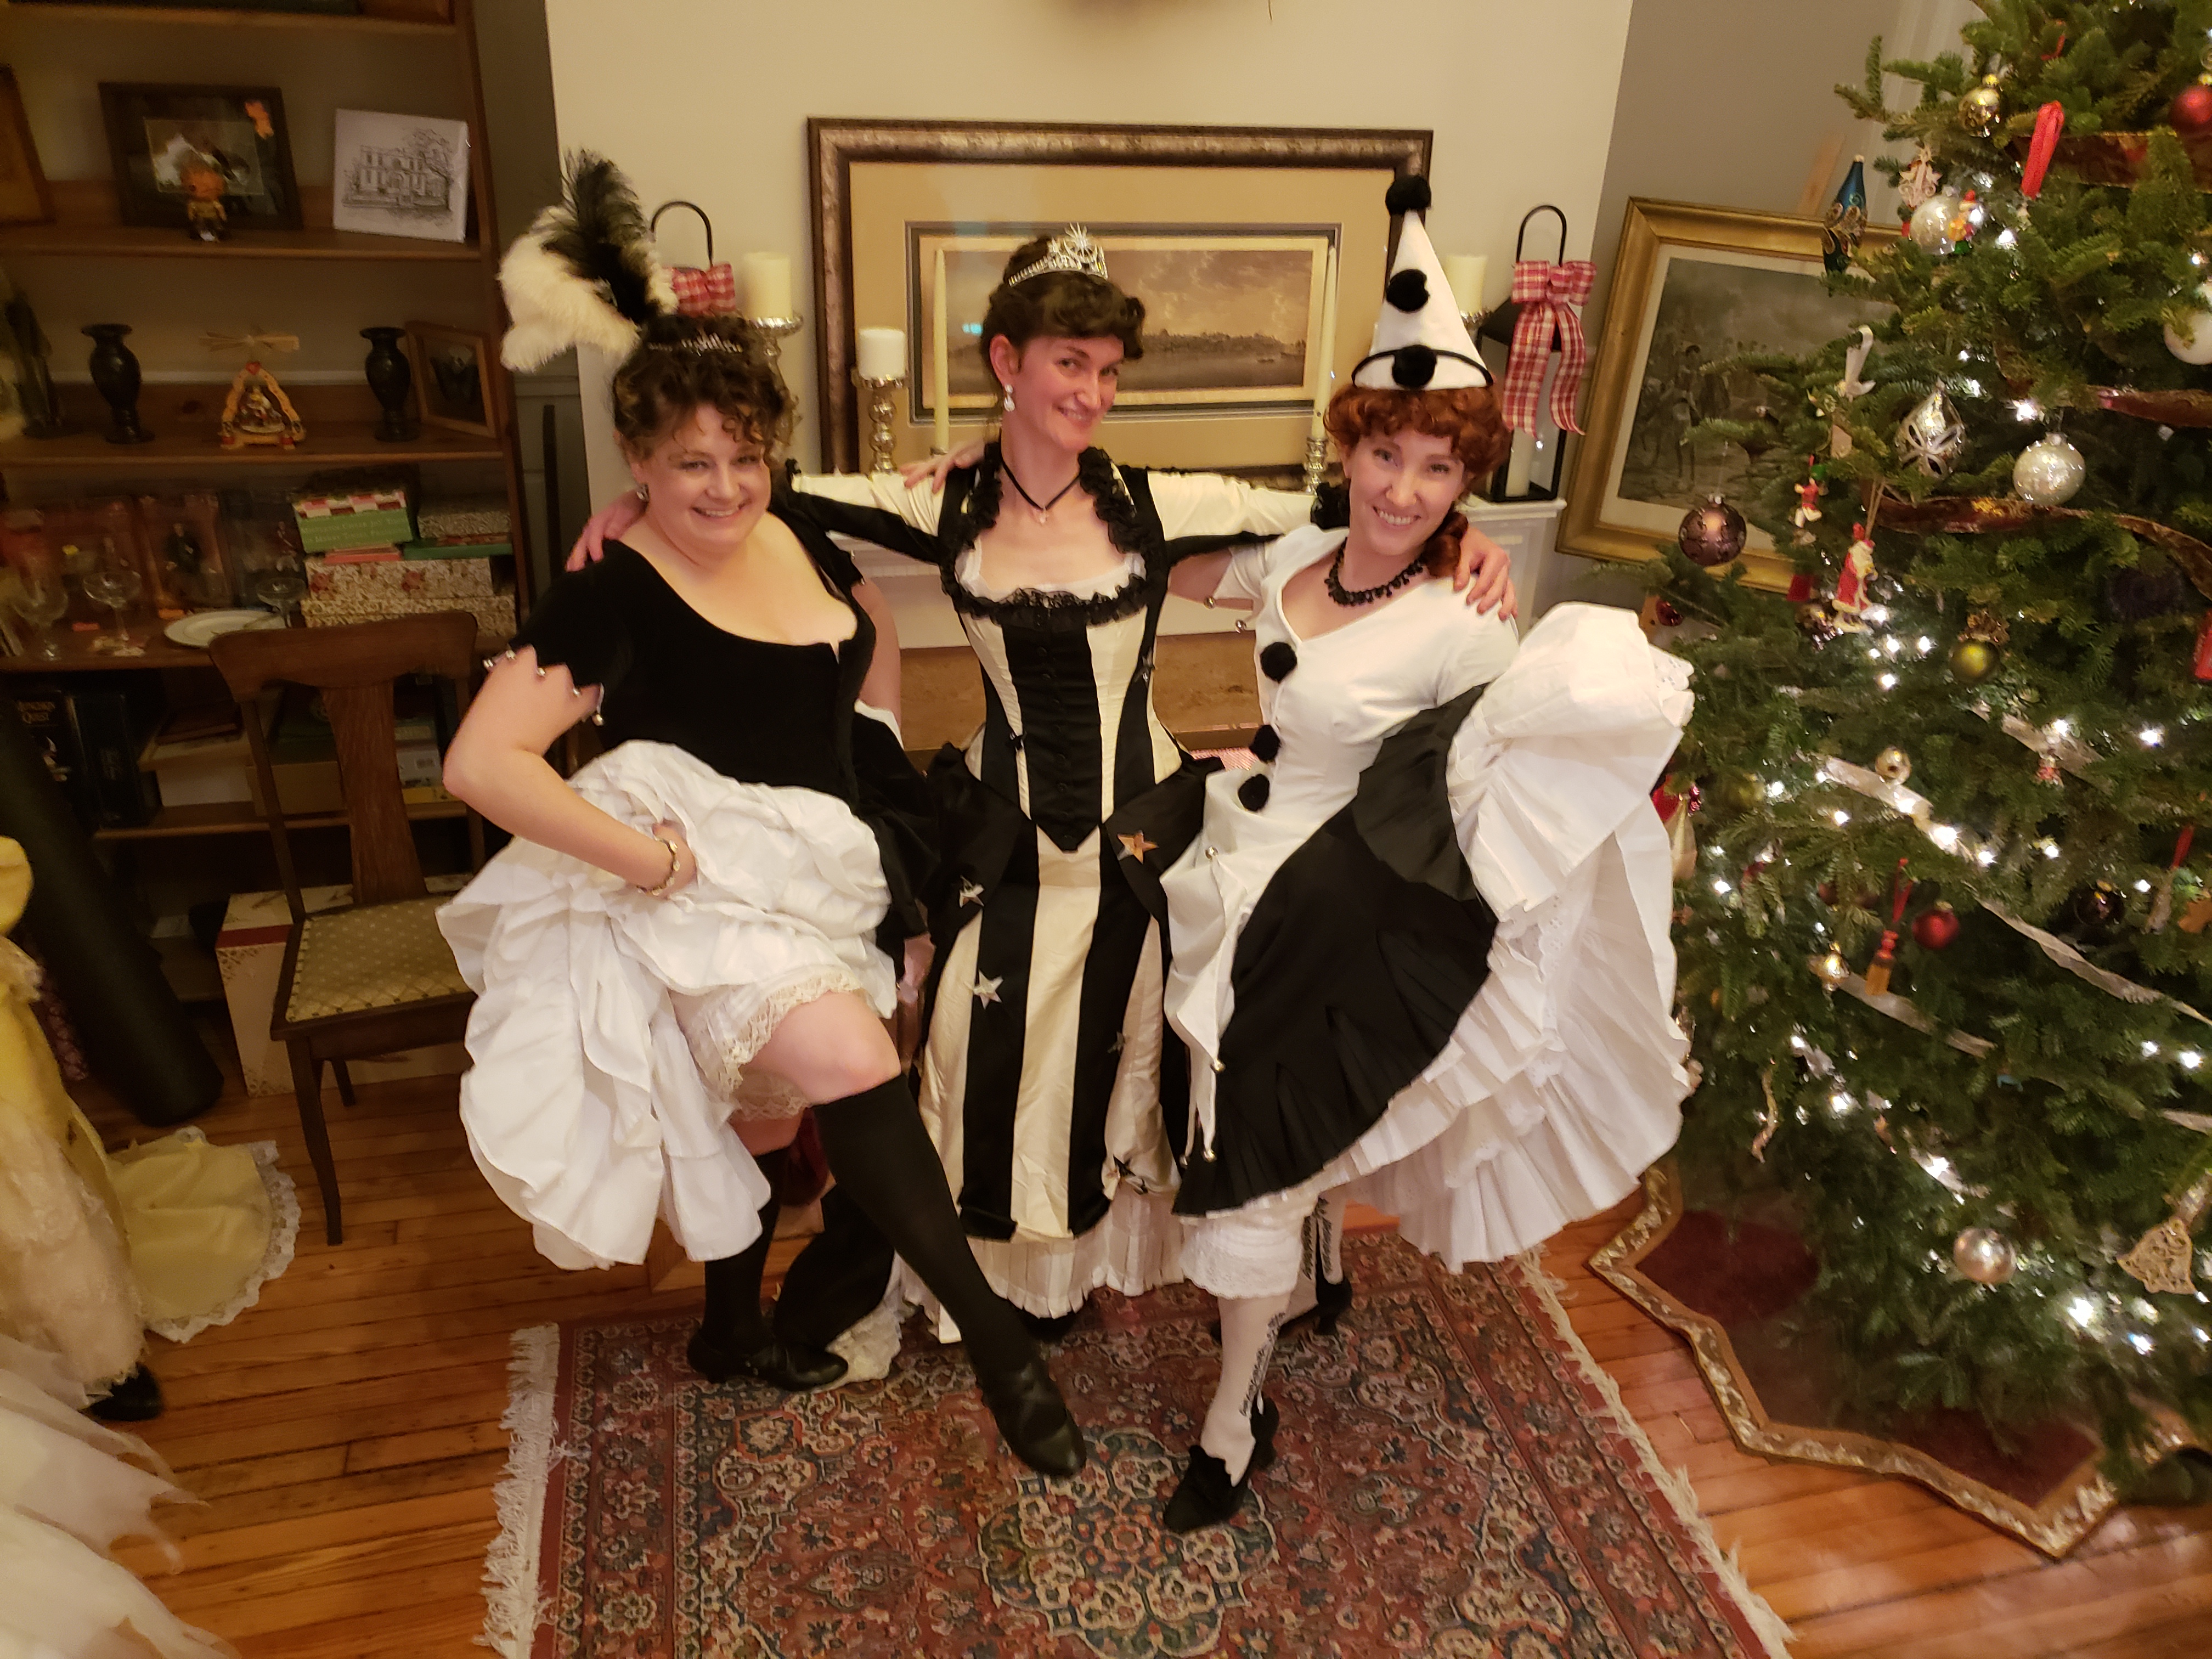
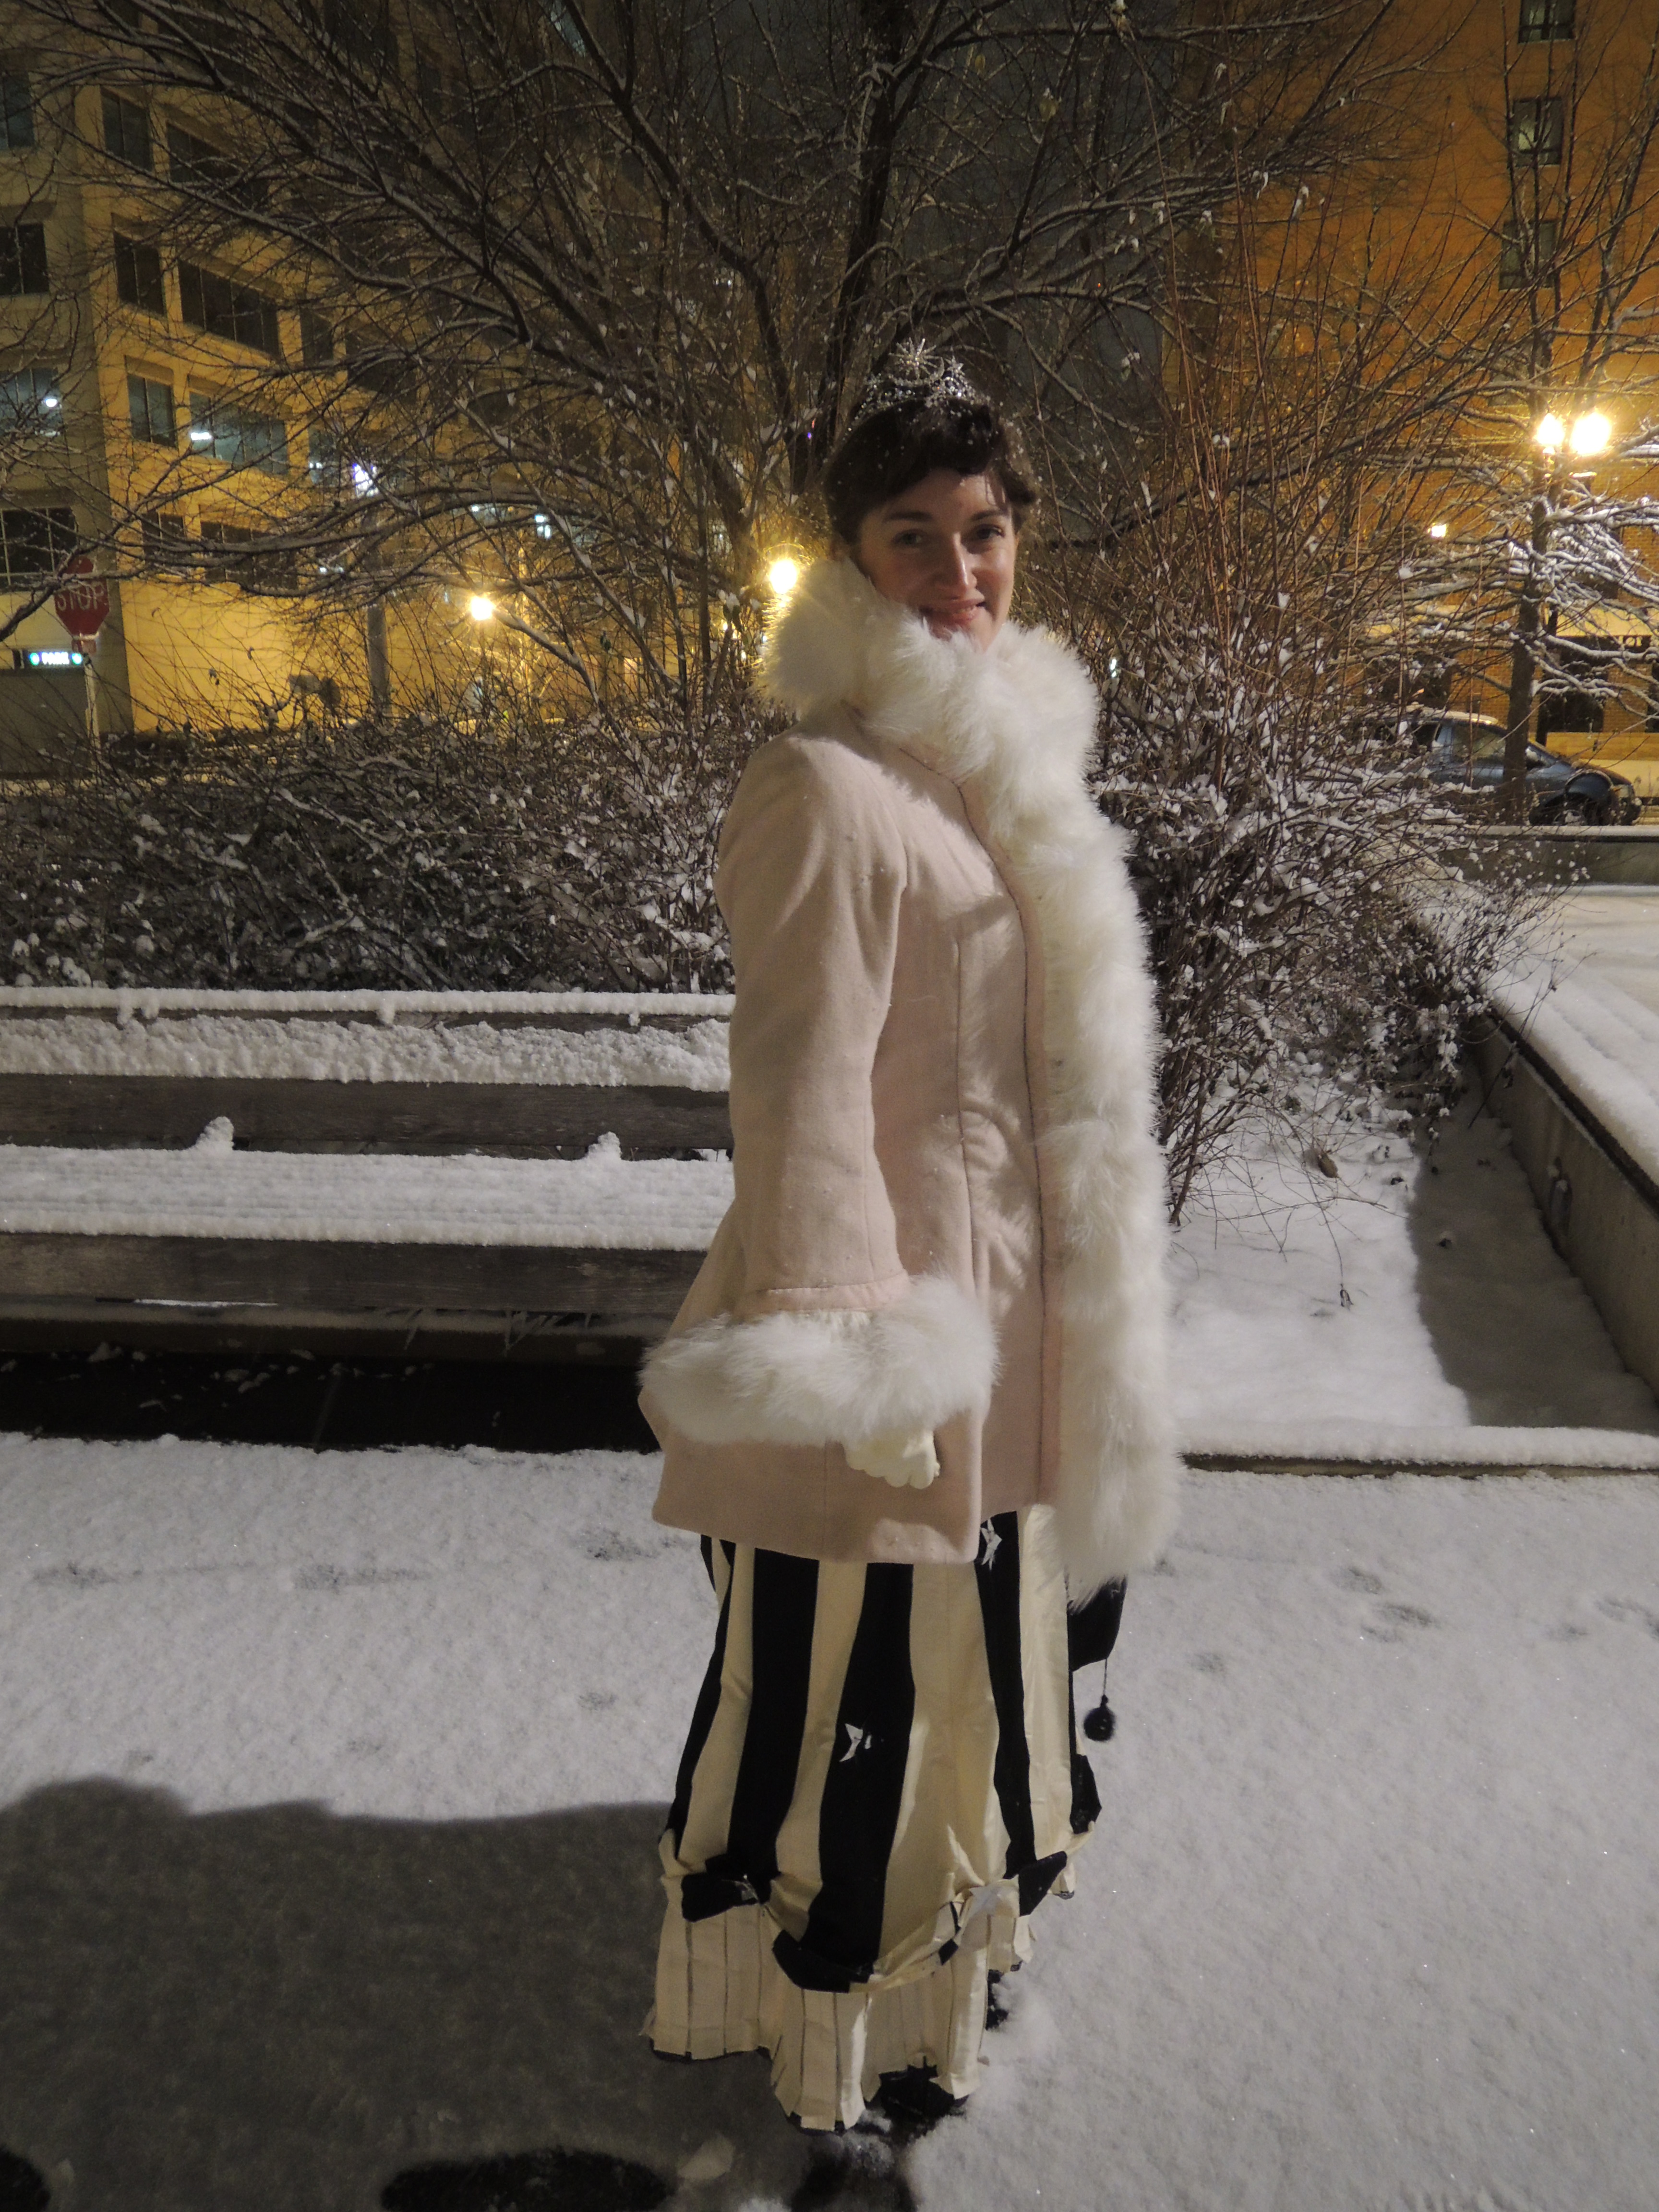
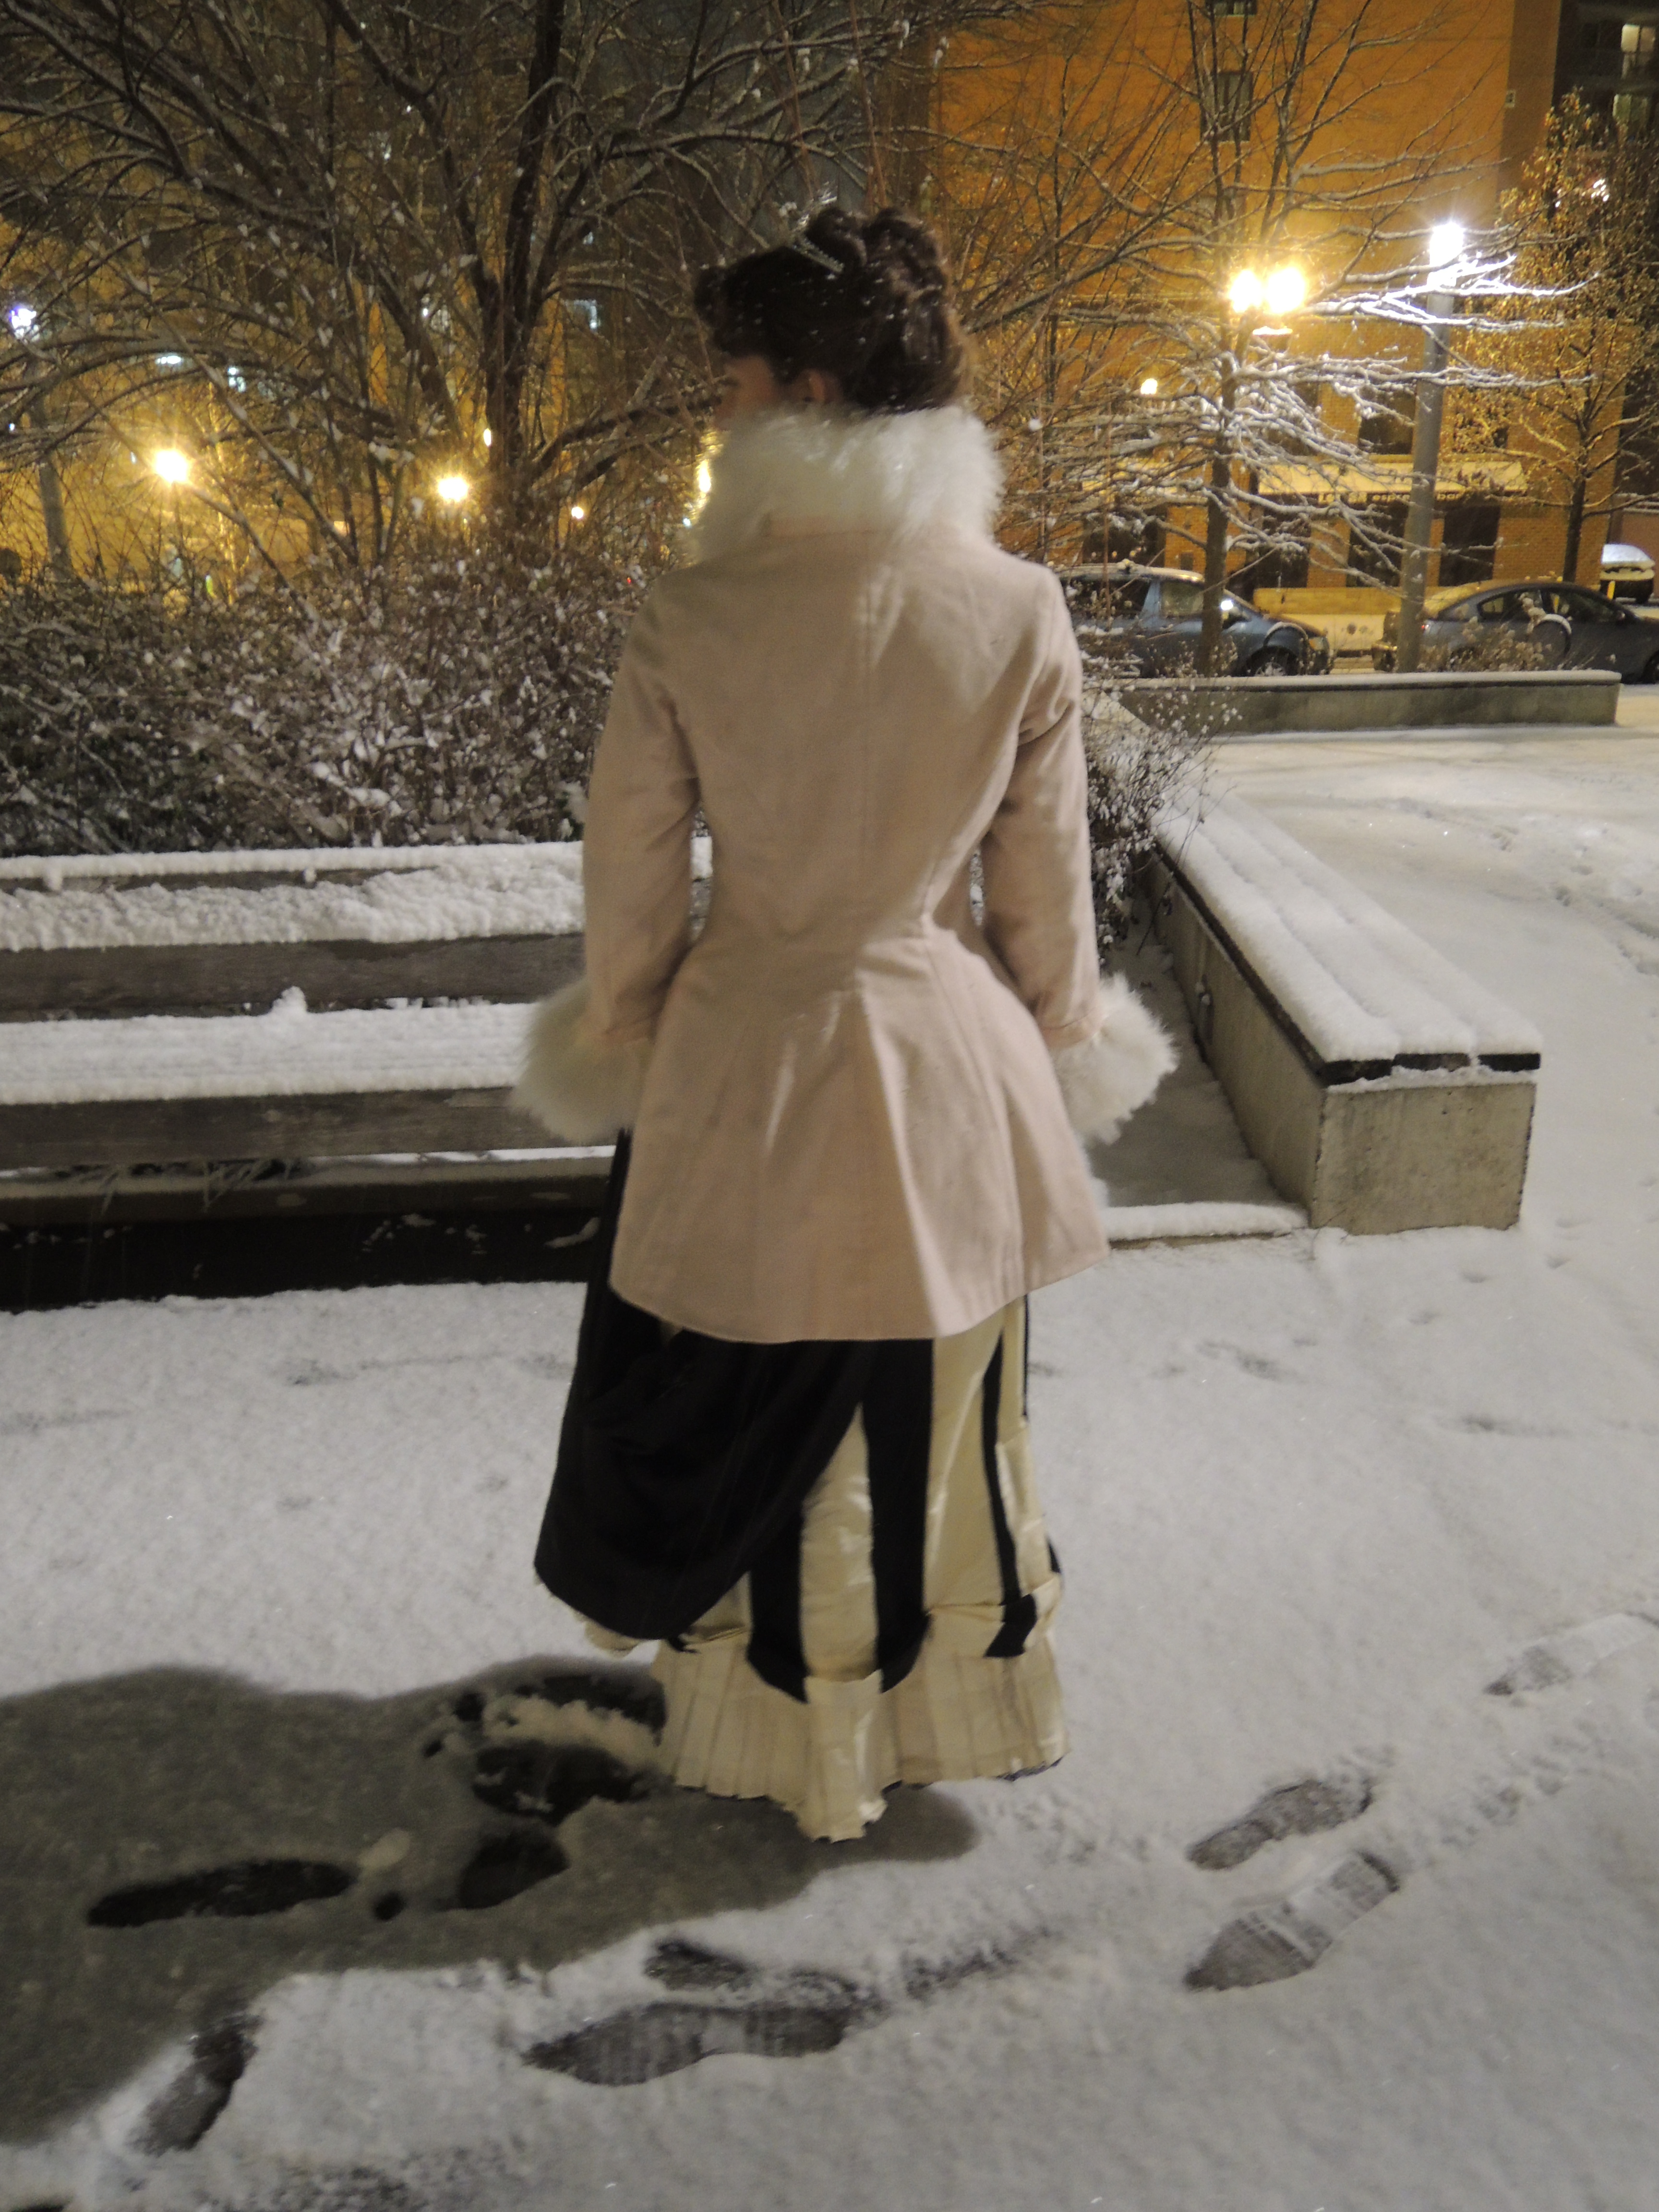
And, while we had a spiffing good time, a generic, dimly lit hotel and an after-dark dinner do not make for good costume pictures! I've wanted to get halfway decent shots of this dress since September, so when a "Victorian fancy dress" themed party came up, I decided to pin silver foil paper stars on the dress and maybe get some pictures this time! Otherwise I'd have to do my traditional park-photoshoot, and it's pretty cold outside right now...

 |
| Both Alice and I wore our Belvidere dinner dresses and stuck stars on them; I love how we're counterpoints of the same theme! |
Part The Second: Construction and All That
The design of the dress isn't too closely based on any one plate or print - just a lot of leafing through both volumes of Fashions of the Gilded Age. I love the "Late Victorian interpretation of 18thc influence" kind of look, so that sort of feel was my main inspiration. I bought the striped fabric in an excellent sale from Fabric Guru once our group had decided a fancy dinner was probably-almost-definitely something we were doing! It was a 4-yard piece, so I knew I'd have to fill in with some other fabric. And I had a length of soft black taffeta in the Stash, so, match made in heaven, no?(Pardon the pun..I couldn't resist.)
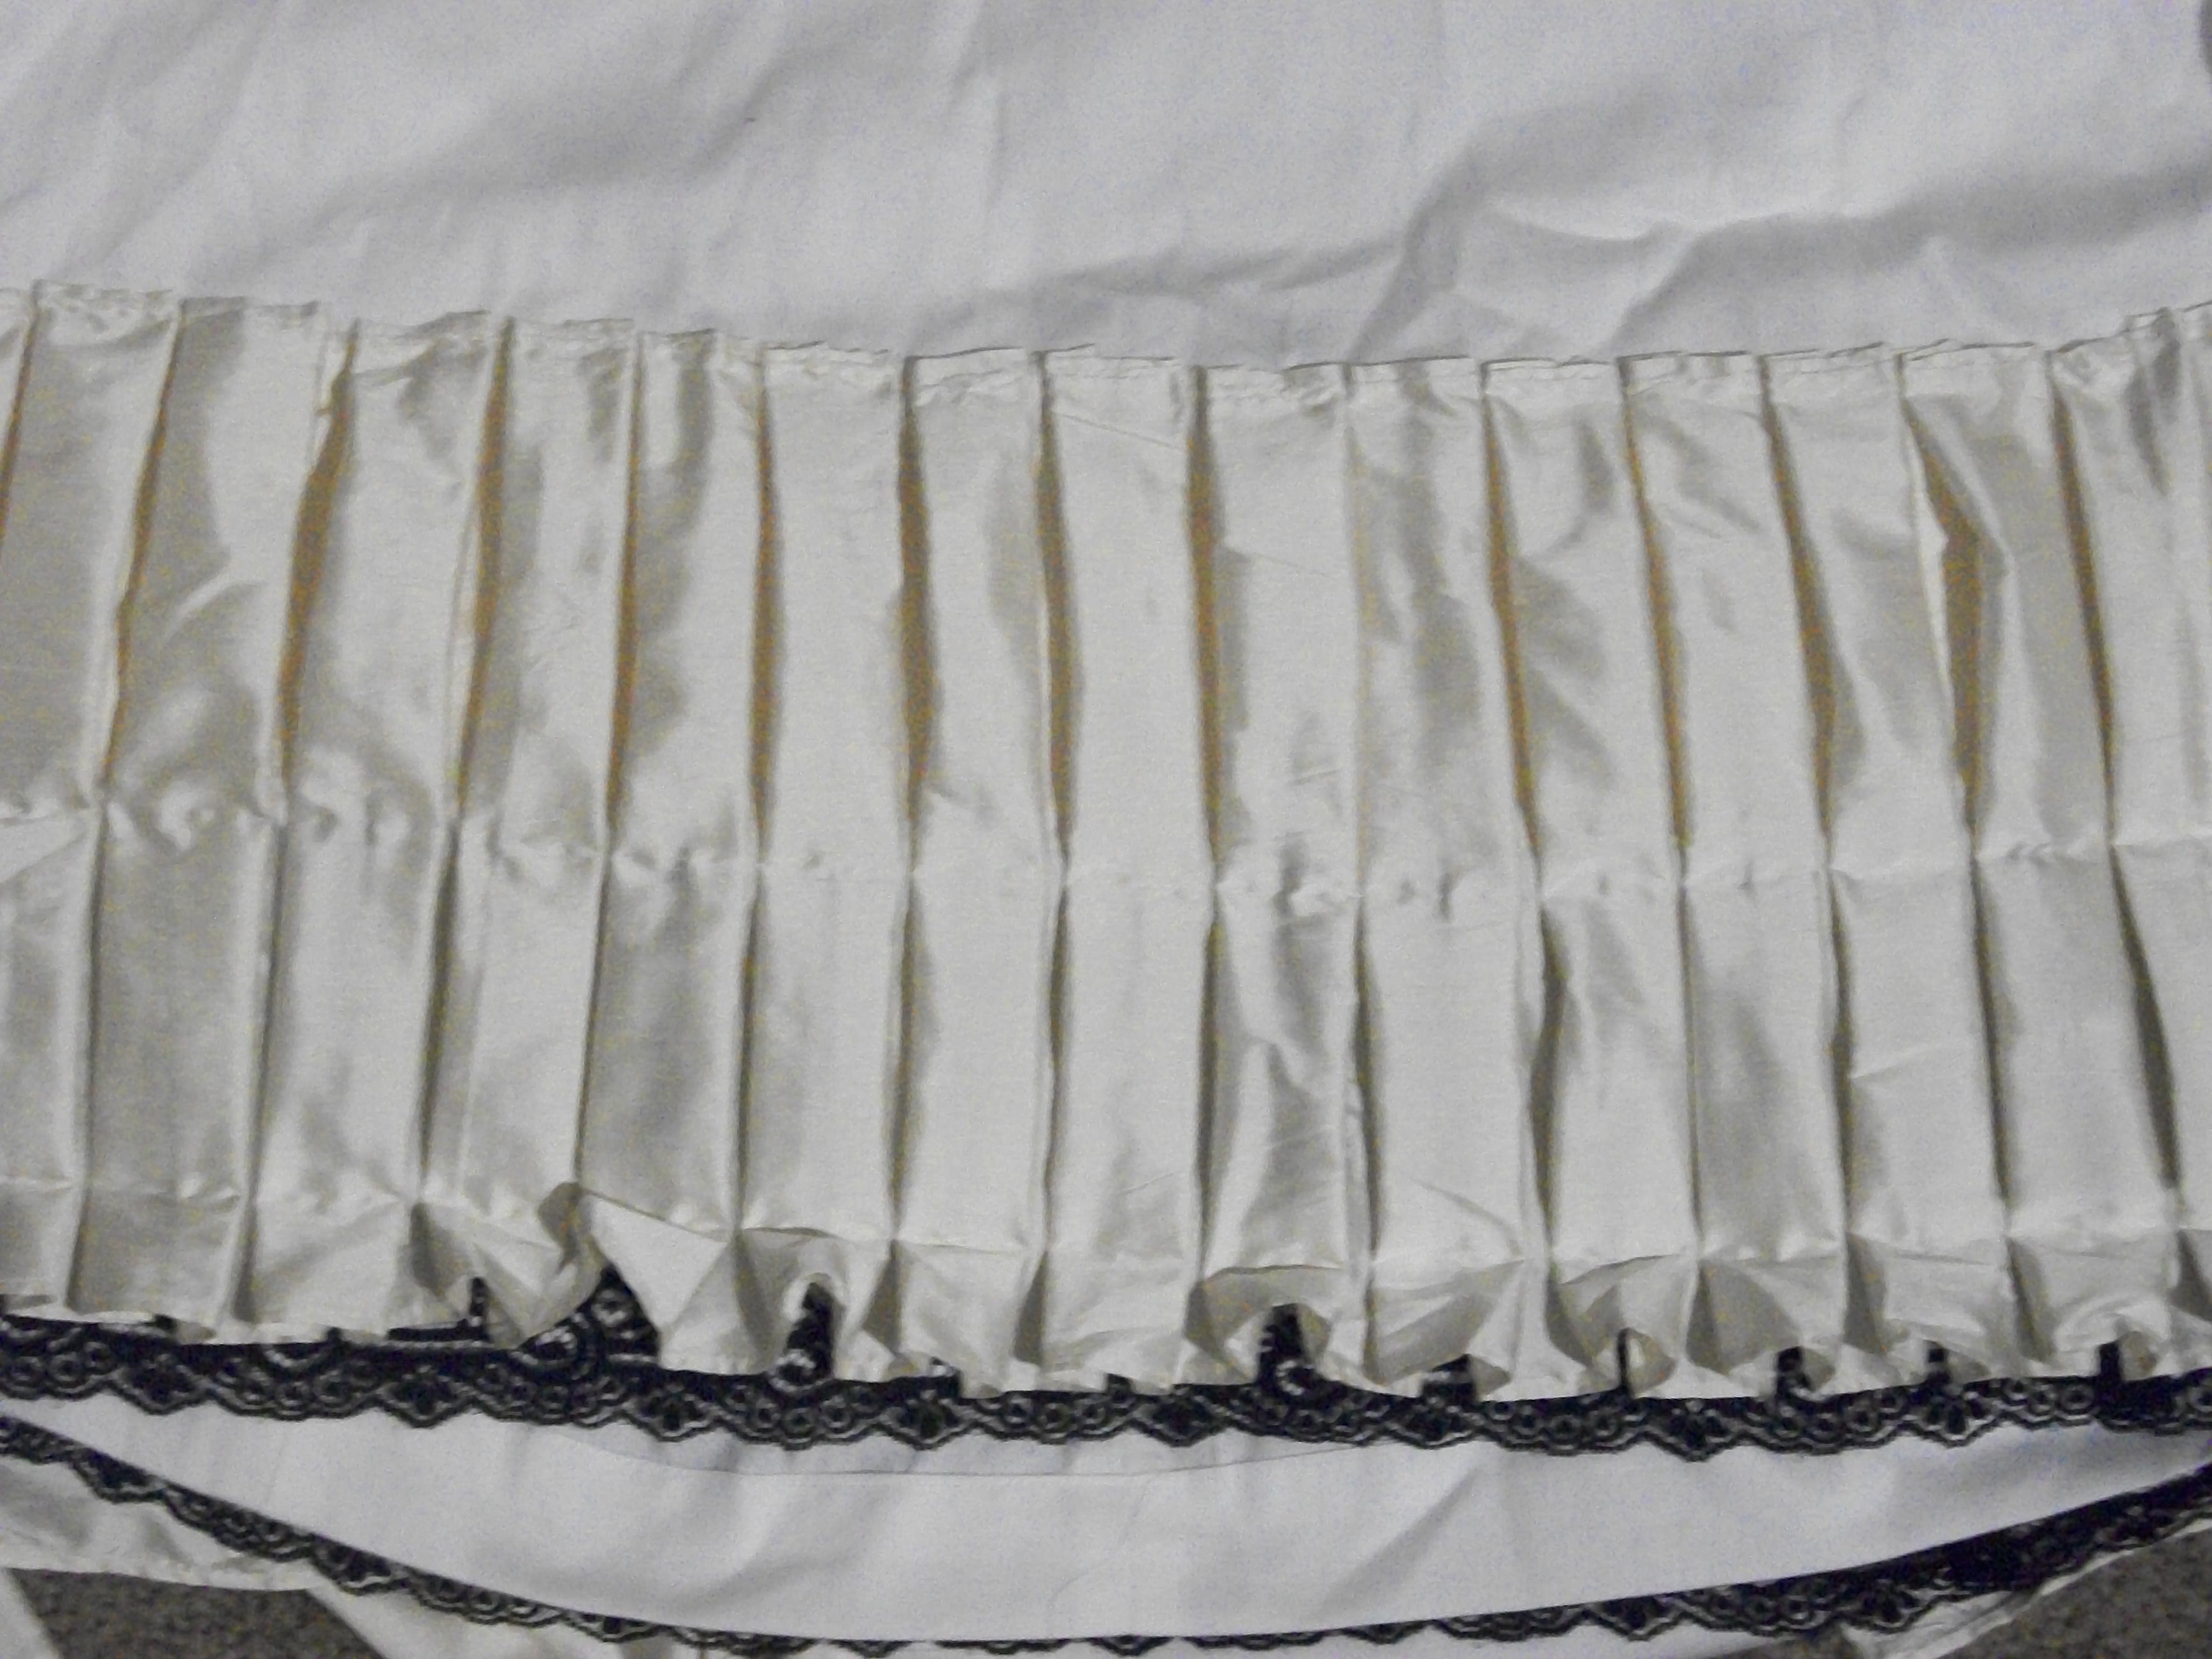
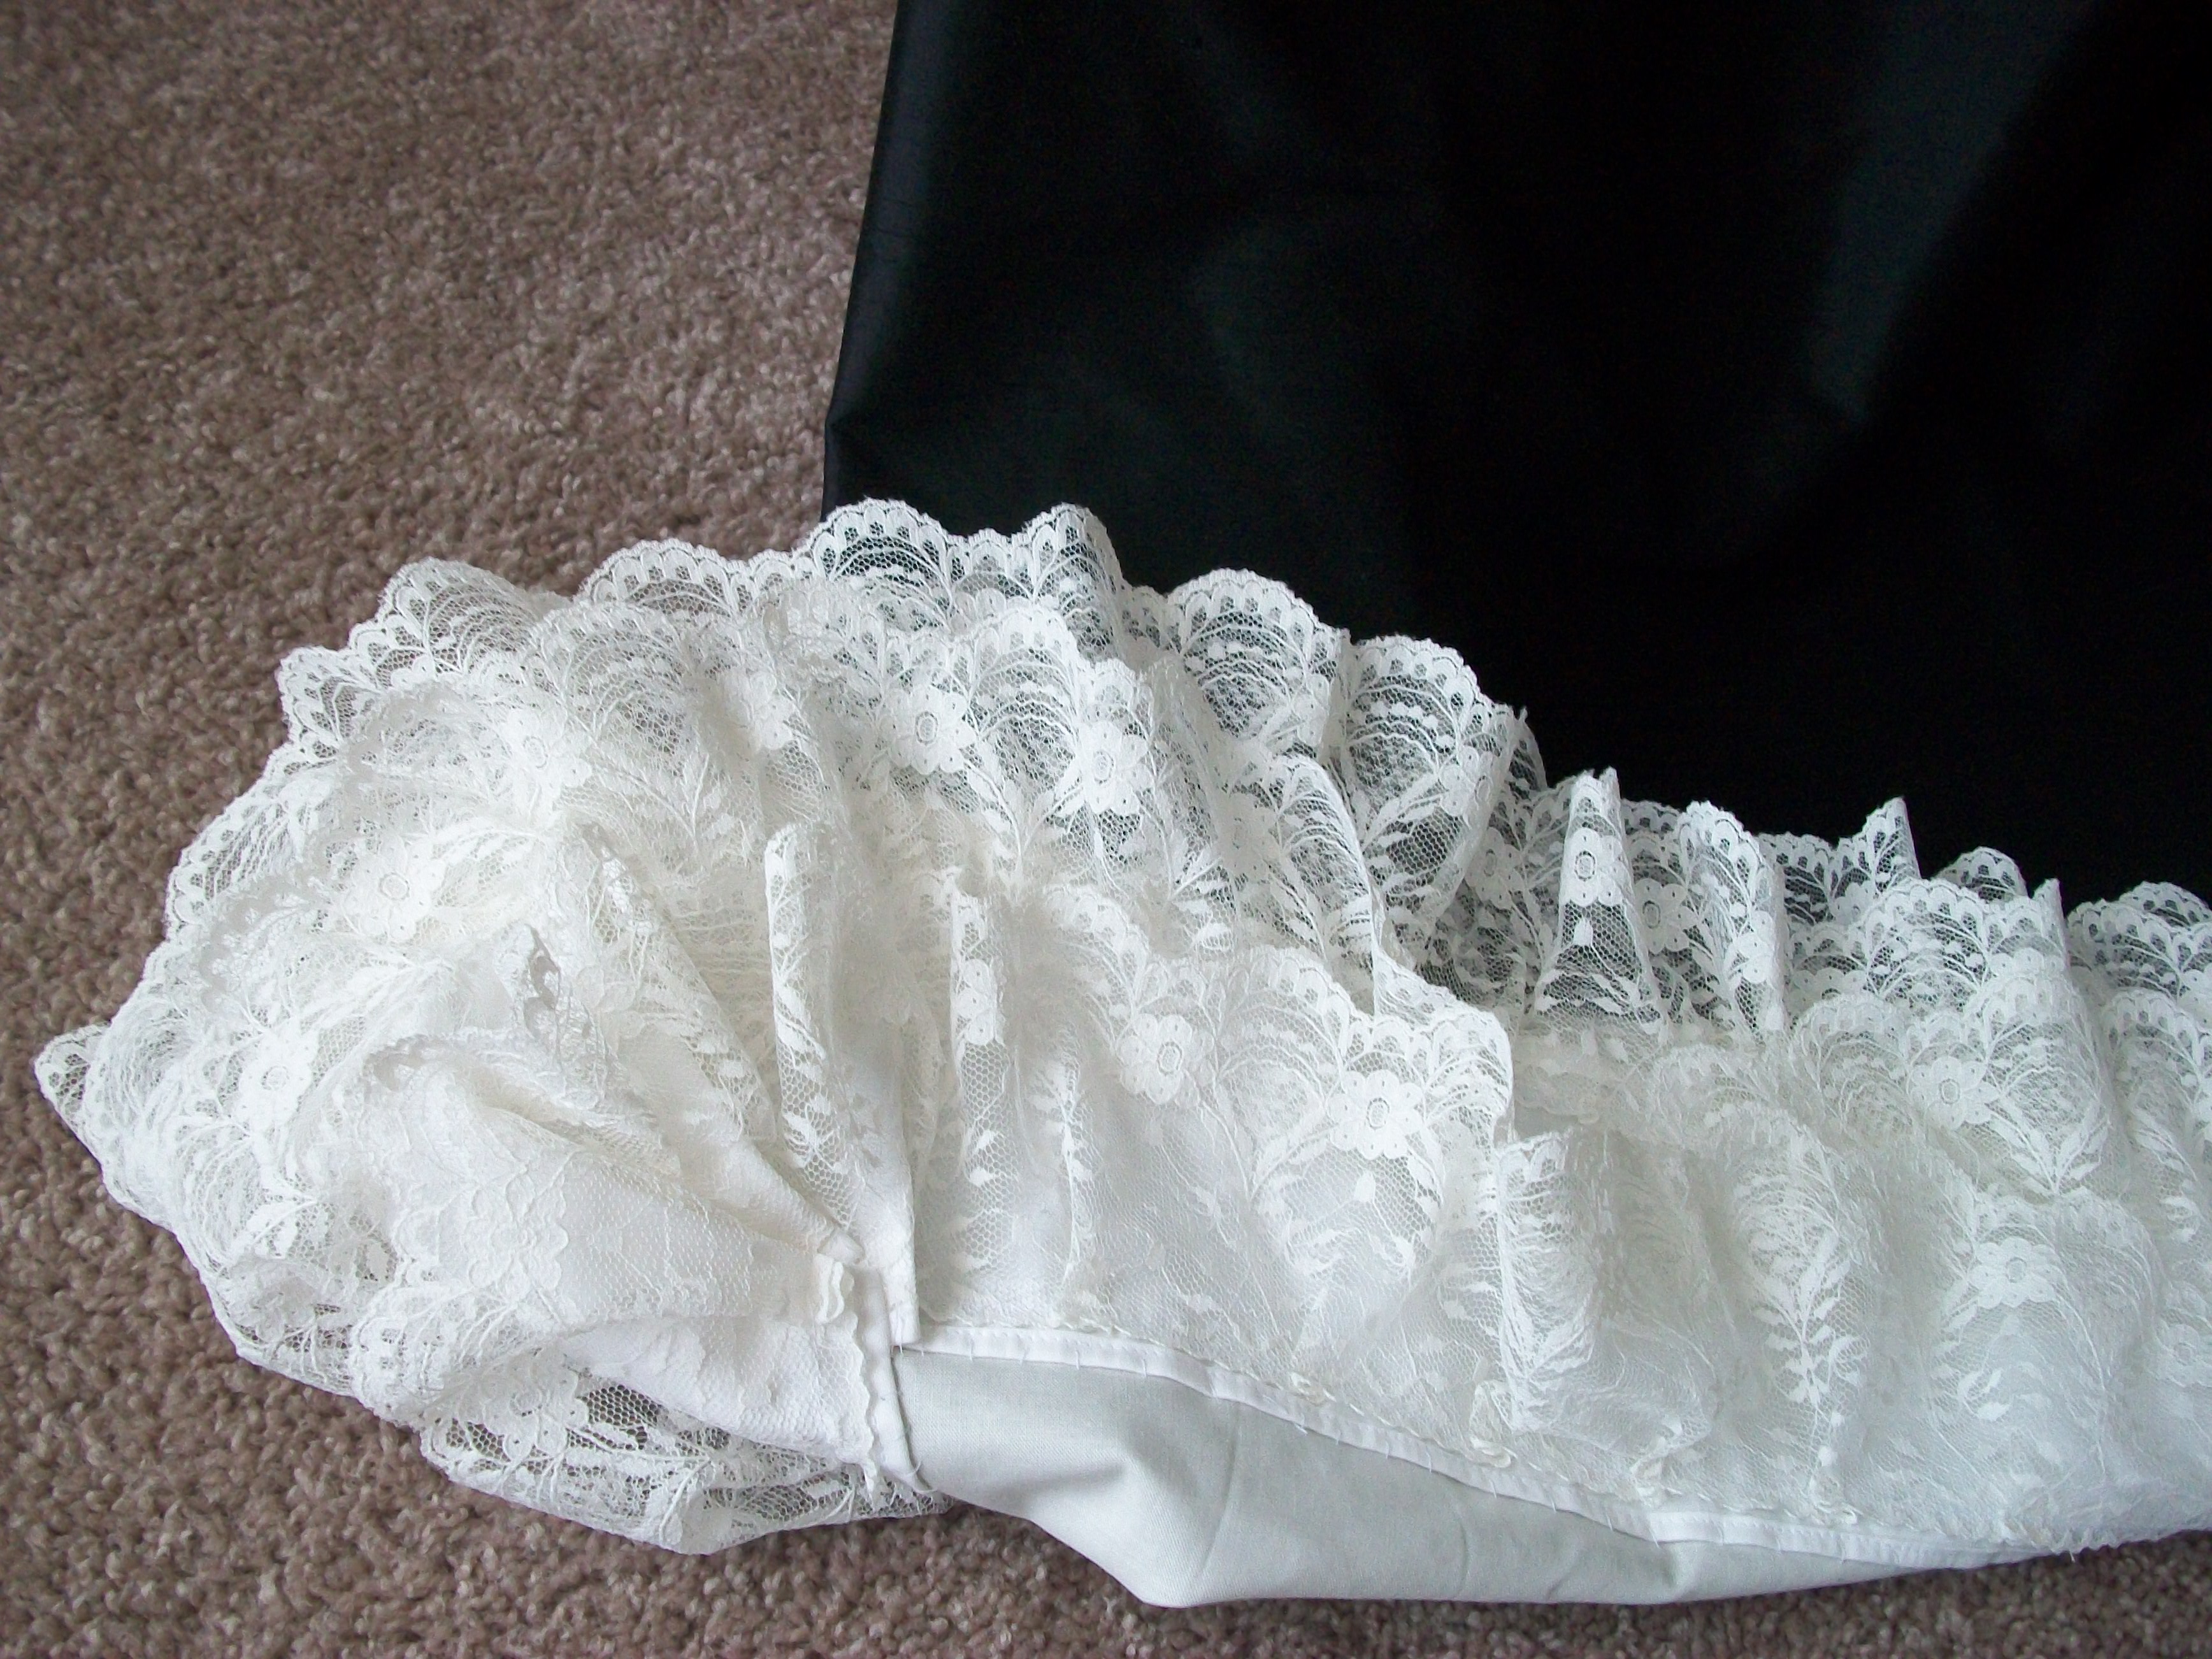
Materials: Black/ivory silk satin/taffeta stripe, black silk taffeta, ivory shantung (pleated flounce). Bodice lining and underskirt base are plain white cotton, and bodice is boned with artificial whalebone. Black around the neck and cuffs is English cotton lace; the dust ruffle is somewhat icky nylon/poly stuff that's lived in the Stash for years but I couldn't throw out because it was a ton of lace, I might use that! Finally found a use for it, as I don't care how much it gets dragged on the ground...!
Construction: This dress has a somewhat drawn-out history - I started it in 2017, and finished it in August of this past year, due to Unforeseen Circumstances regarding the event. So I've lost some construction pics, and forgotten a lot of what I did! But I'll see what I can recap.
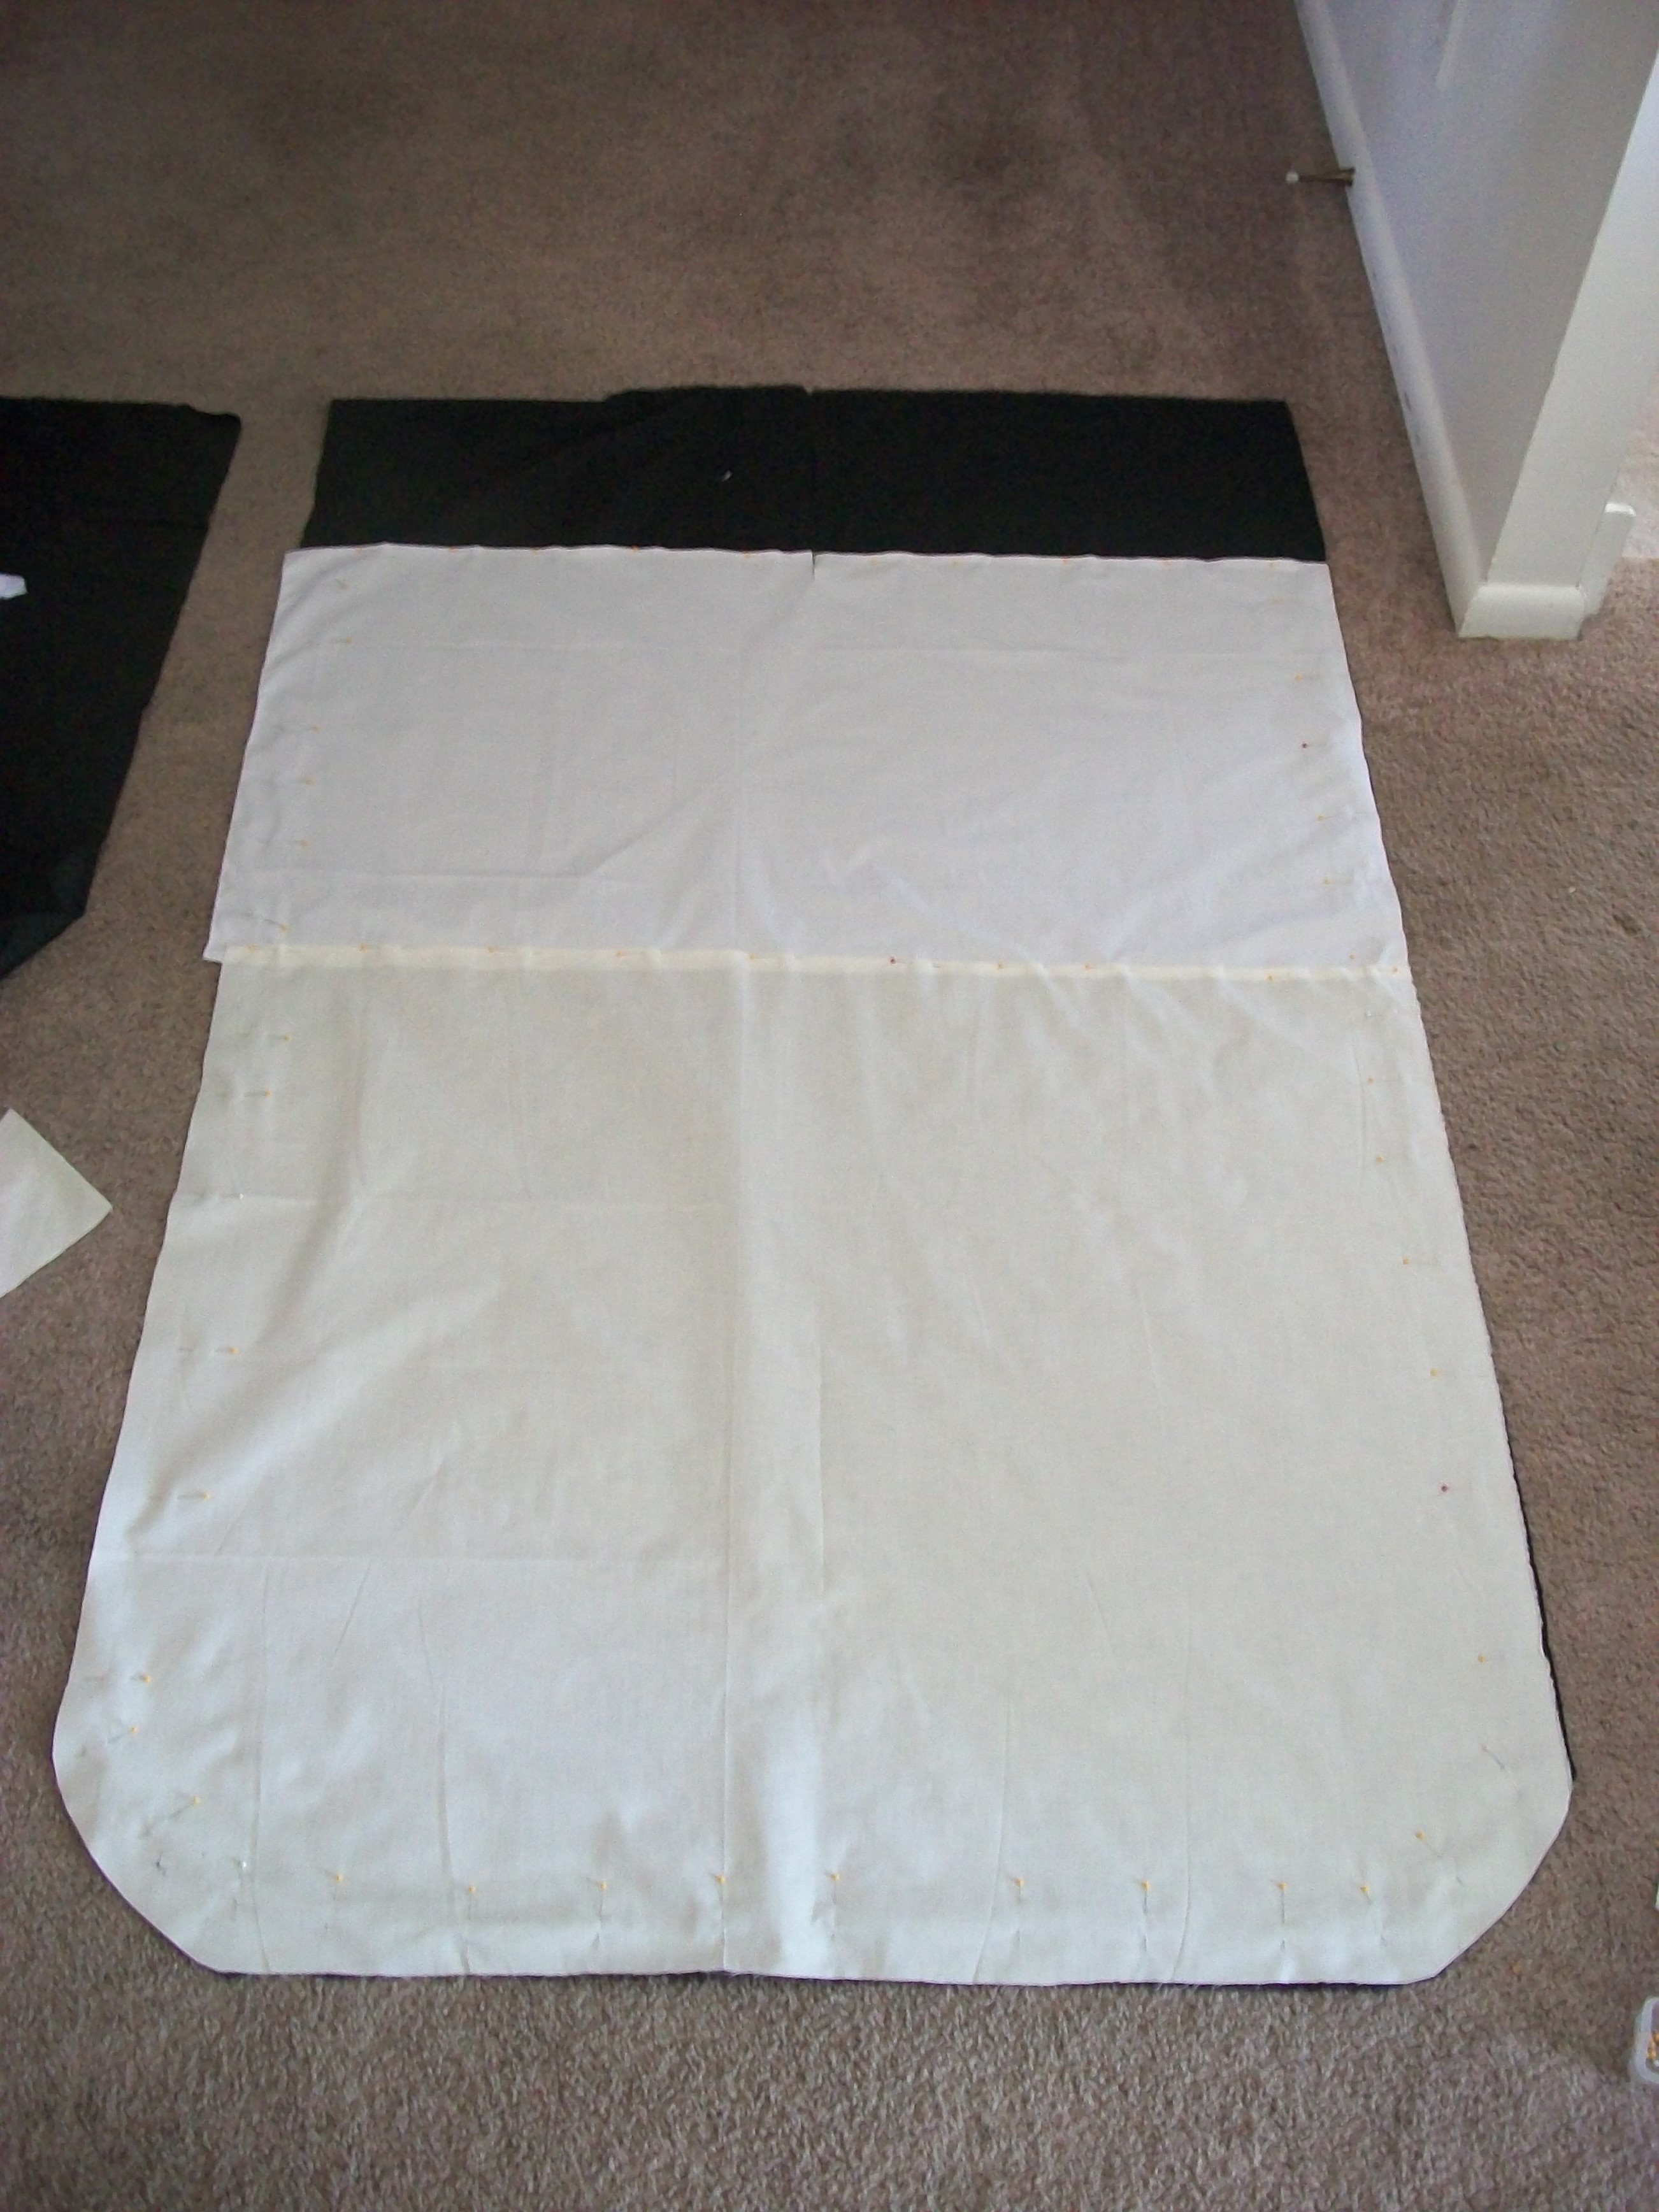
The underskirt started life as the TV 1878 underskirt pattern, but I took even more out of the width of the back panels, as I wanted that very slim 1880-82 skirt. The base underskirt is cotton, with the ivory pleated flounce stitched on top of that, and the striped swagged skirt made up separately, but sewn into the same waistband. I was very careful not to make the underskirt too long, and as such managed to make it a bit too short...I may consider fudging the length with another little tier of lace at the hem or something at a later date.
The hip draperies and train are sewn onto a second waistband. Side note: Asymmetrical draperies were all the rage, there are a ton of them in the 1880s...I just couldn't bring myself to do something asymmetrical. I really really like symmetry! So mirrored hip draperies it was. These, I just scaled up from a pattern in FotGA (which page? is a fact lost to the mists of time); same with the train.
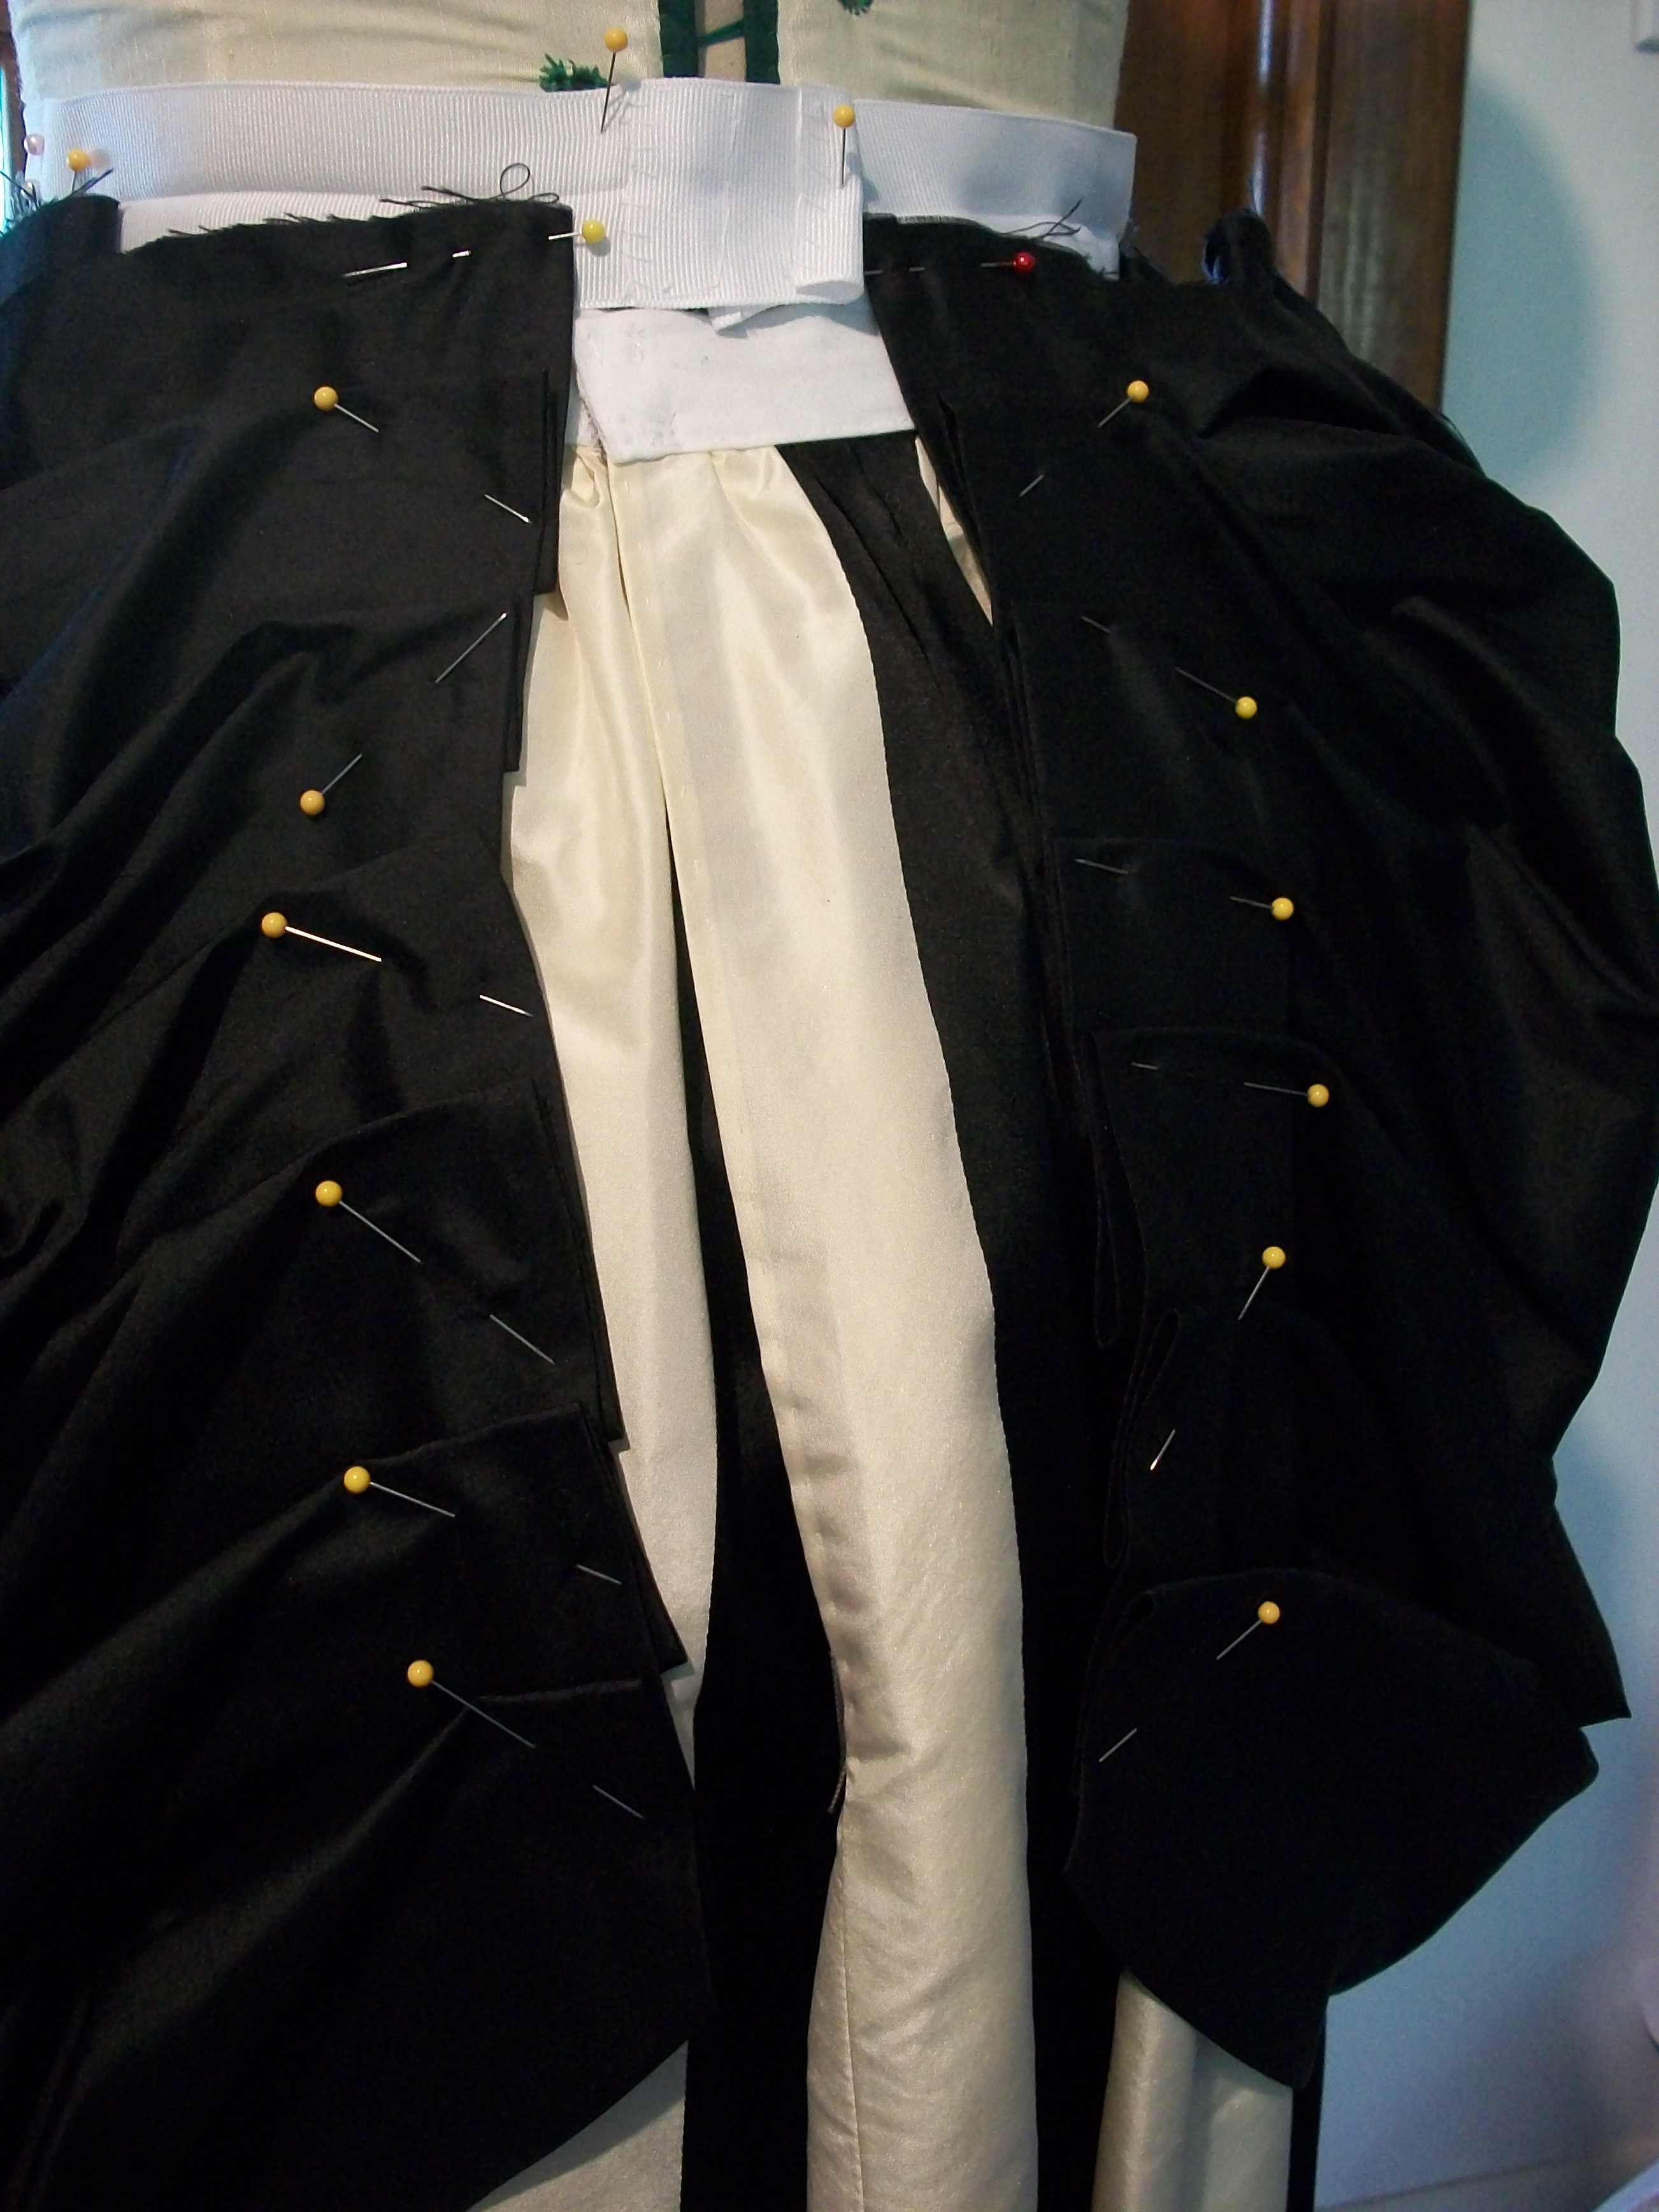
I used a pattern from Fashions of the Gilded Age for my first bodice mockup - one of the fun ones where you figure out which ruler to use for your measurements, and draw a bunch of dots, and then play connect the dots. It took a while but it was actually fun (yes, I have an odd definition of fun)! It had...some interesting issues when I actually tried it on, though. The main one was that, despite adding an inch to the bottom edge and 3" in the middle, at the waistline, the damn thing was at least 2" too short, and too short in weird places. I know I'm long-waisted, but I am not that freakishly proportioned! So I decided my time was worth more than that, and borrowed a TV natural form bodice pattern from a friend!
And there our story pauses, because it was at this point in construction in 2017 that we found out Belvidere was canceled that year! And I have trouble finishing an outfit when I don't have an event for it - especially when there WAS an event that was very rudely whisked away! Happily, they revived it for 2018, and we renewed our plans for dinner, and dinner dresses.
And I used the TV pattern, and had to do very few adjustments from the day bodice pattern, happily. The main one was, shockingly, cutting down a whole lot of neckline, and hacking off the sleeves at the elbow. There are plenty of long sleeved dinner dresses, but considering this was made to be worn at an event that has reached over 100F in the past...I wanted as much airflow as I could get!
 |
| Immediately post-dart fitting, and I cut the neckline down more after this. |
 |
| Also shaped the back "tails" a bit more. |
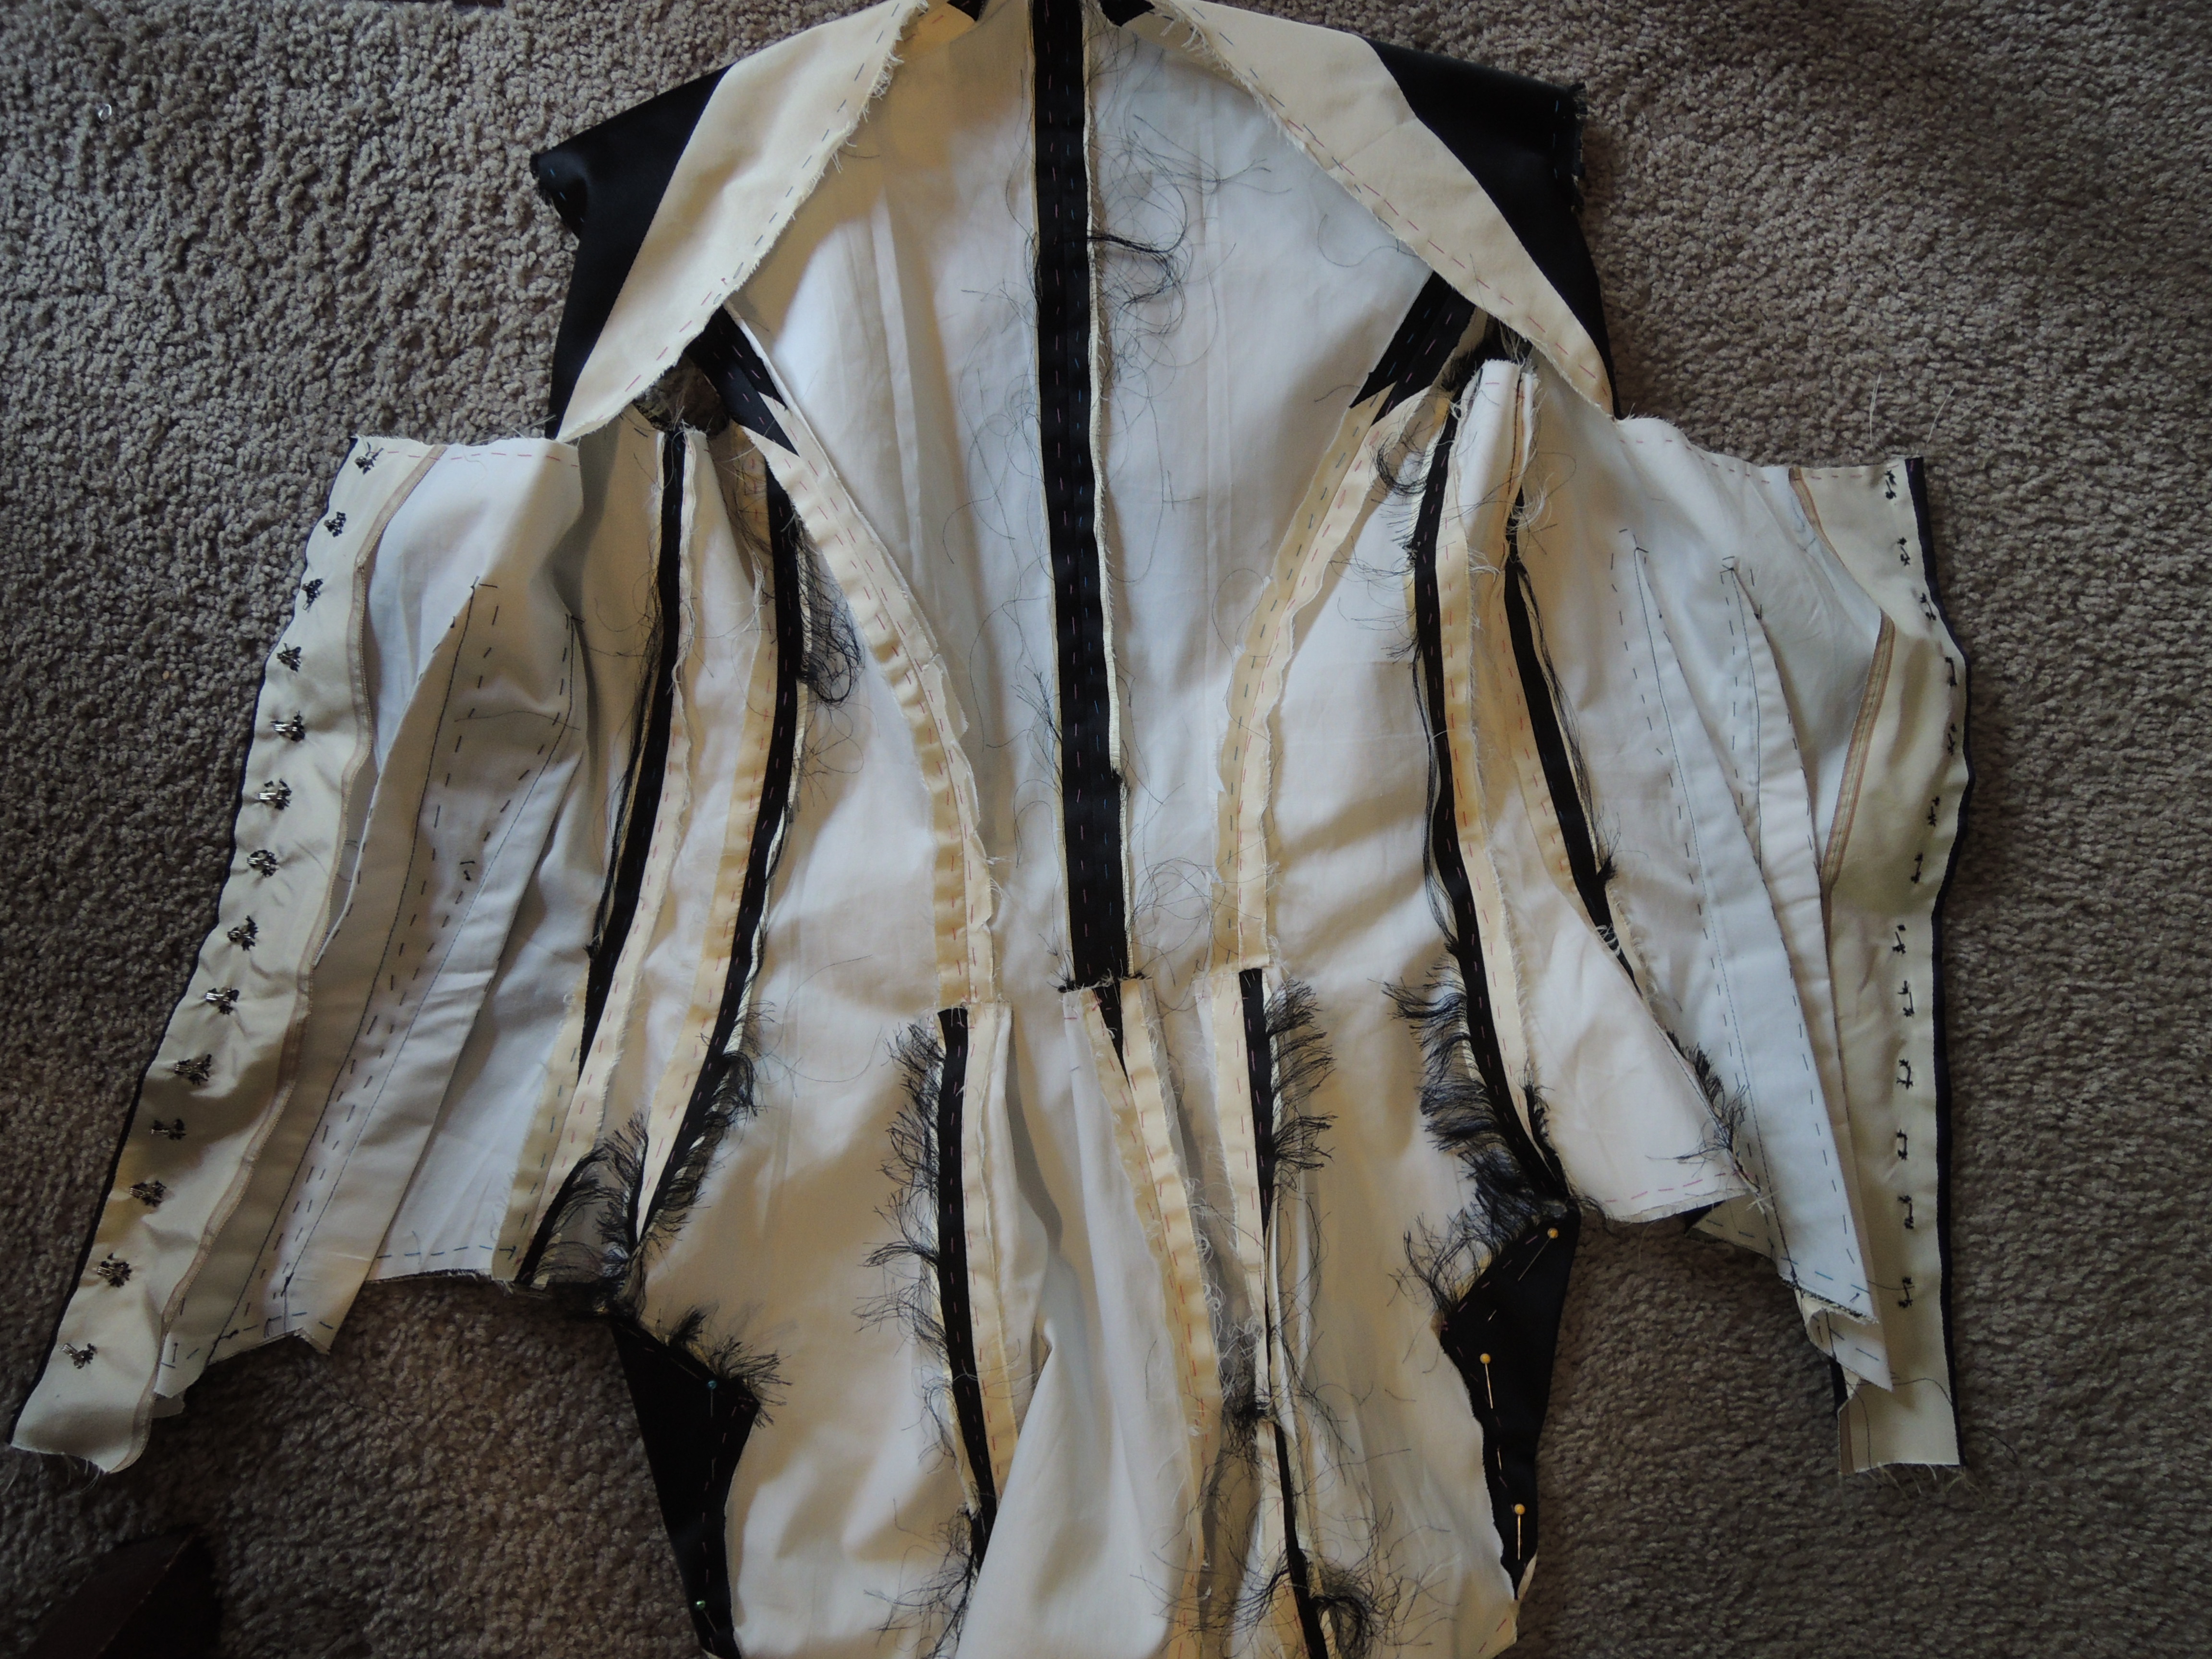 |
| Note fraying black satin; we will revisit this theme in a moment. |
And then the week before Belvidere, as I was fussing with neckline lace, I noticed something odd: I could see ivory in the middle of the center back seam, in the middle of that black stripe. Because the full half-inch seam allowance I left had frayed right through, that's why.
Reader, I swore.
I put the whole thing down, none too gently, raged to my friends online, reviewed my options...and glue penned it. Yes, on the outside. Short of taking the whole bodice apart, recutting the back pieces, re-sewing them, and painting those satin edges of seam allowance with glue so they didn't fray...I couldn't have done much else to stop it. So there is a lovely shiny broken line of glue-pen down my center-back seam. With another wearing or two, it'll probably have to be an entire unbroken line of glue, at least down to the waist. And no, it isn't too small or under undue strain...it's just evil fabric! Kick me if I ever say I'm making a satin anything ever again, alright?
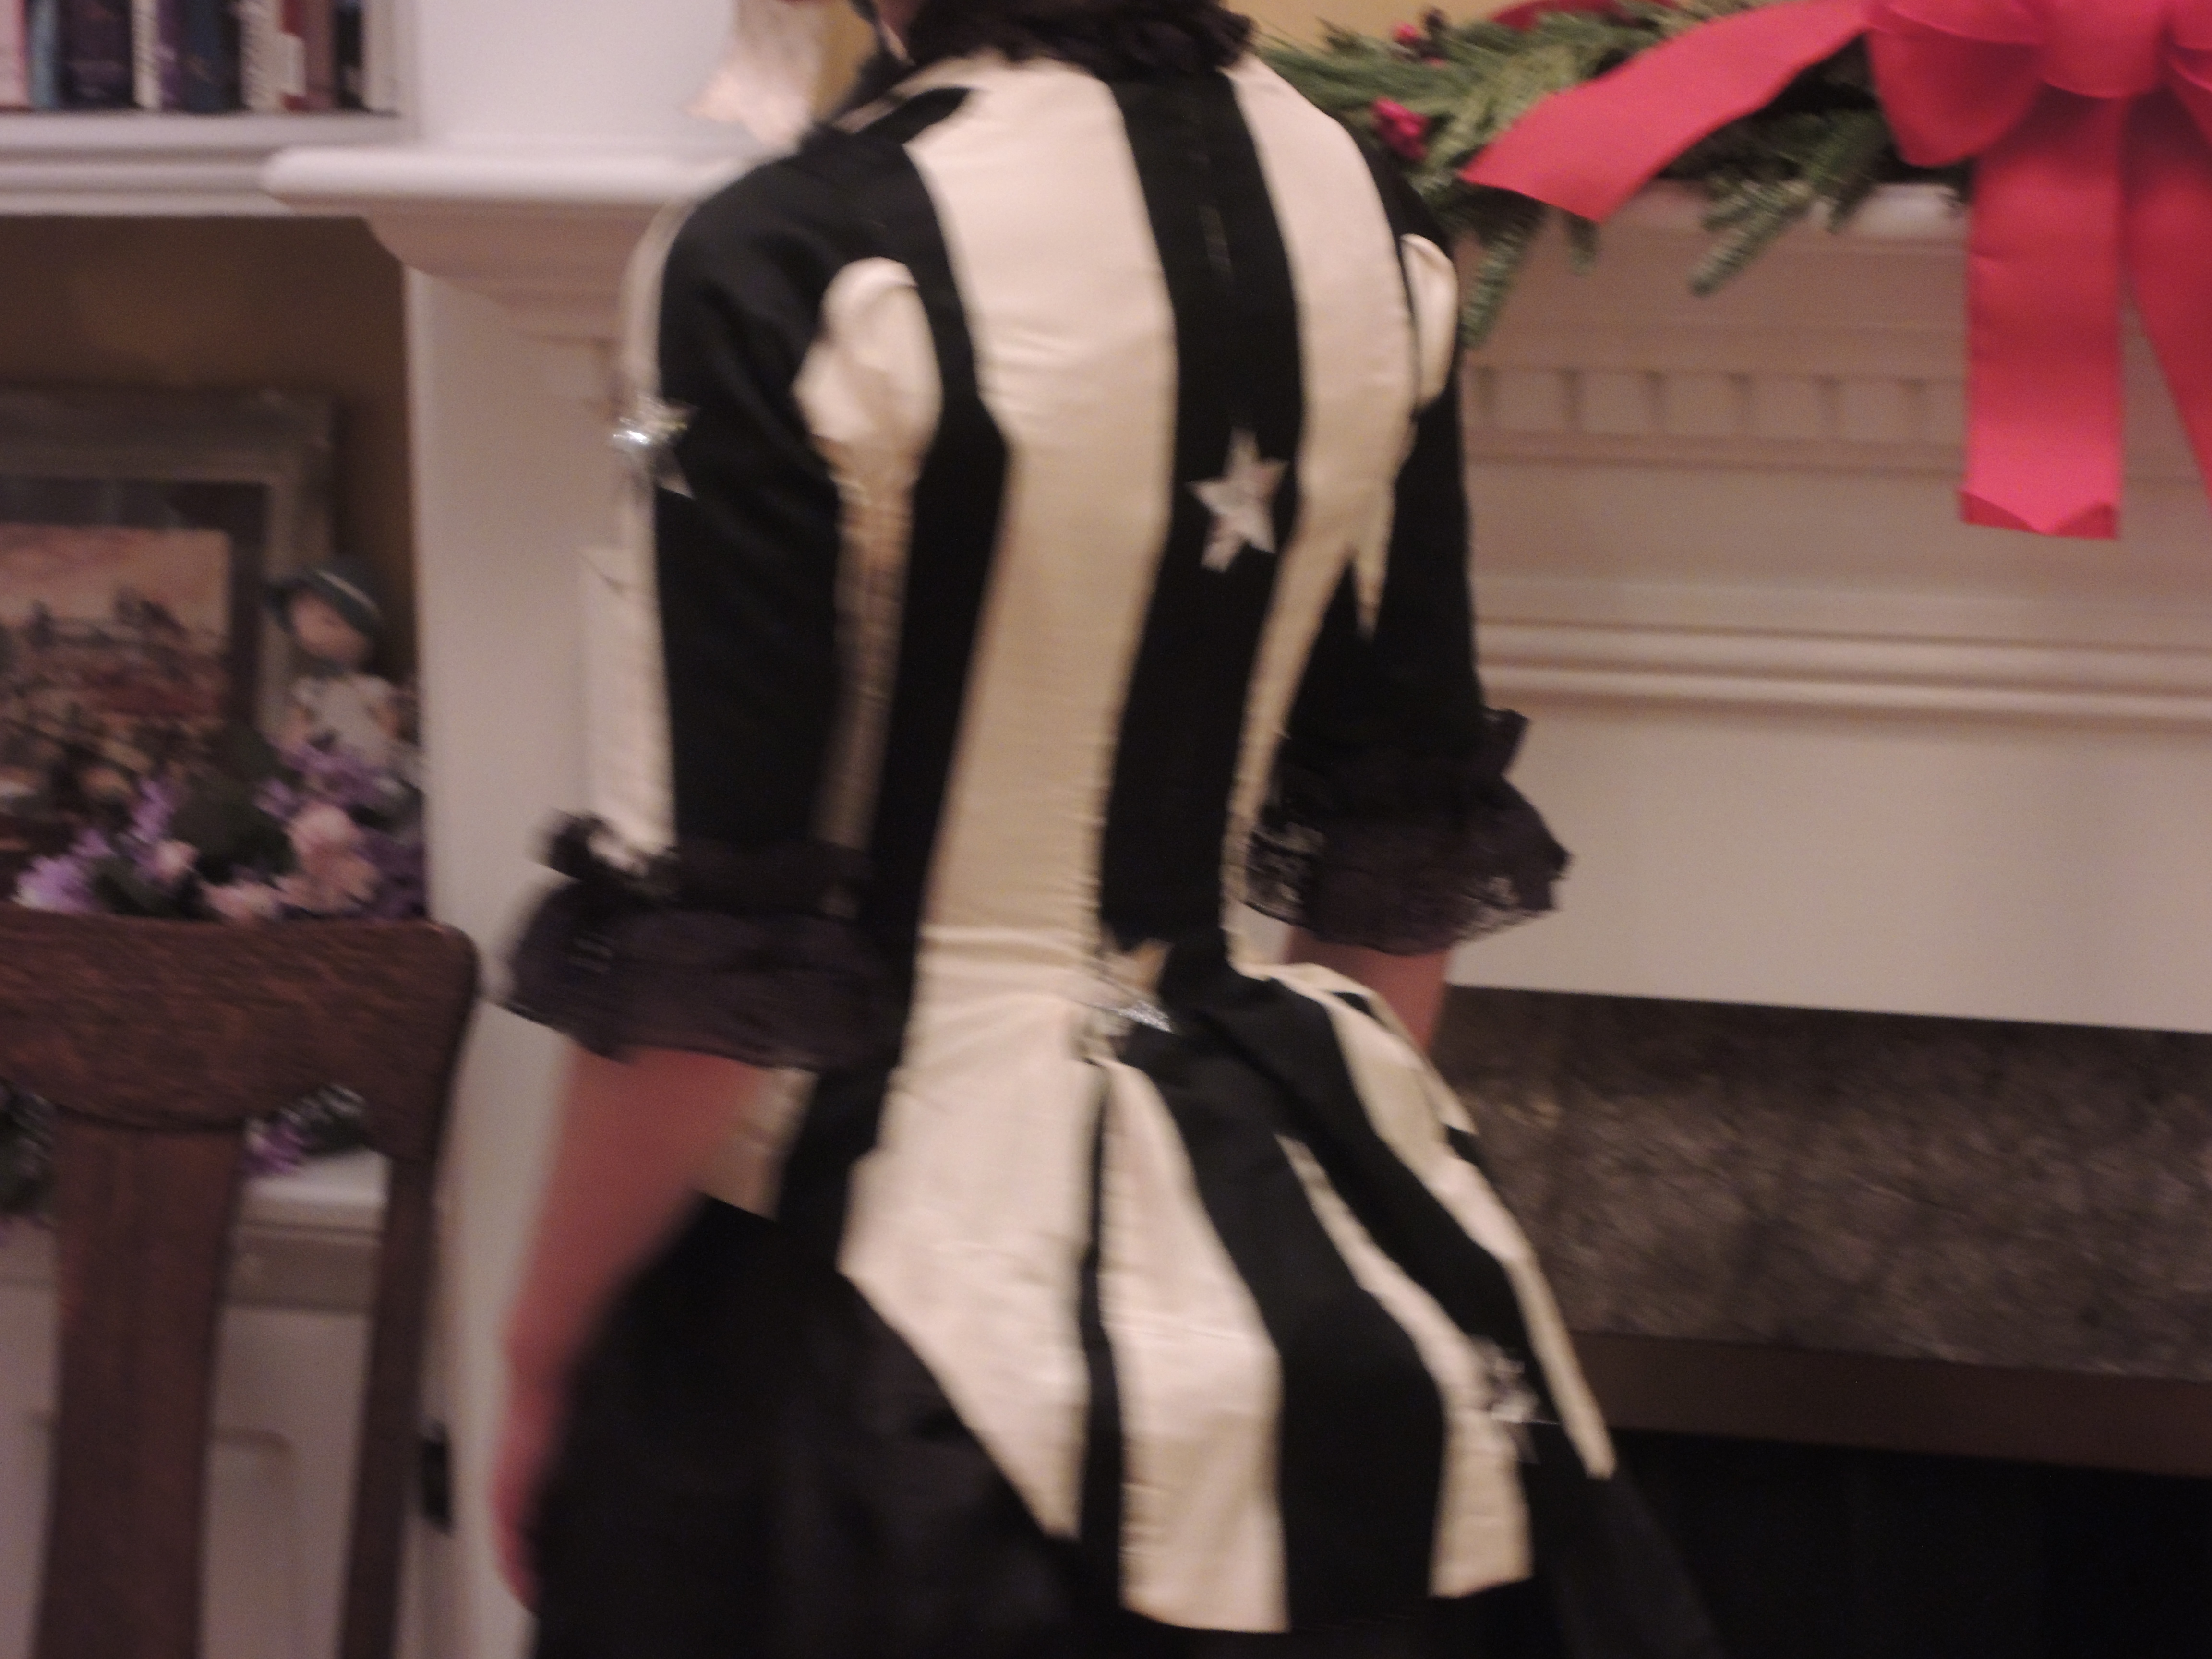 |
| This photo's a bit blurry, but it's the only one where you can sort of see it - if you look above the star on the CB (which is covering another pull), you can see the line of white...that's where the satin threads have all unraveled enough that the ivory weft threads are showing. |
Win some, lose some?
Part the Third: More Pretty Pictures
At Belvidere I wore the dress with red paper roses on the swags and the bodice, which I liked very much. The pictures are a bit dim but here's a few.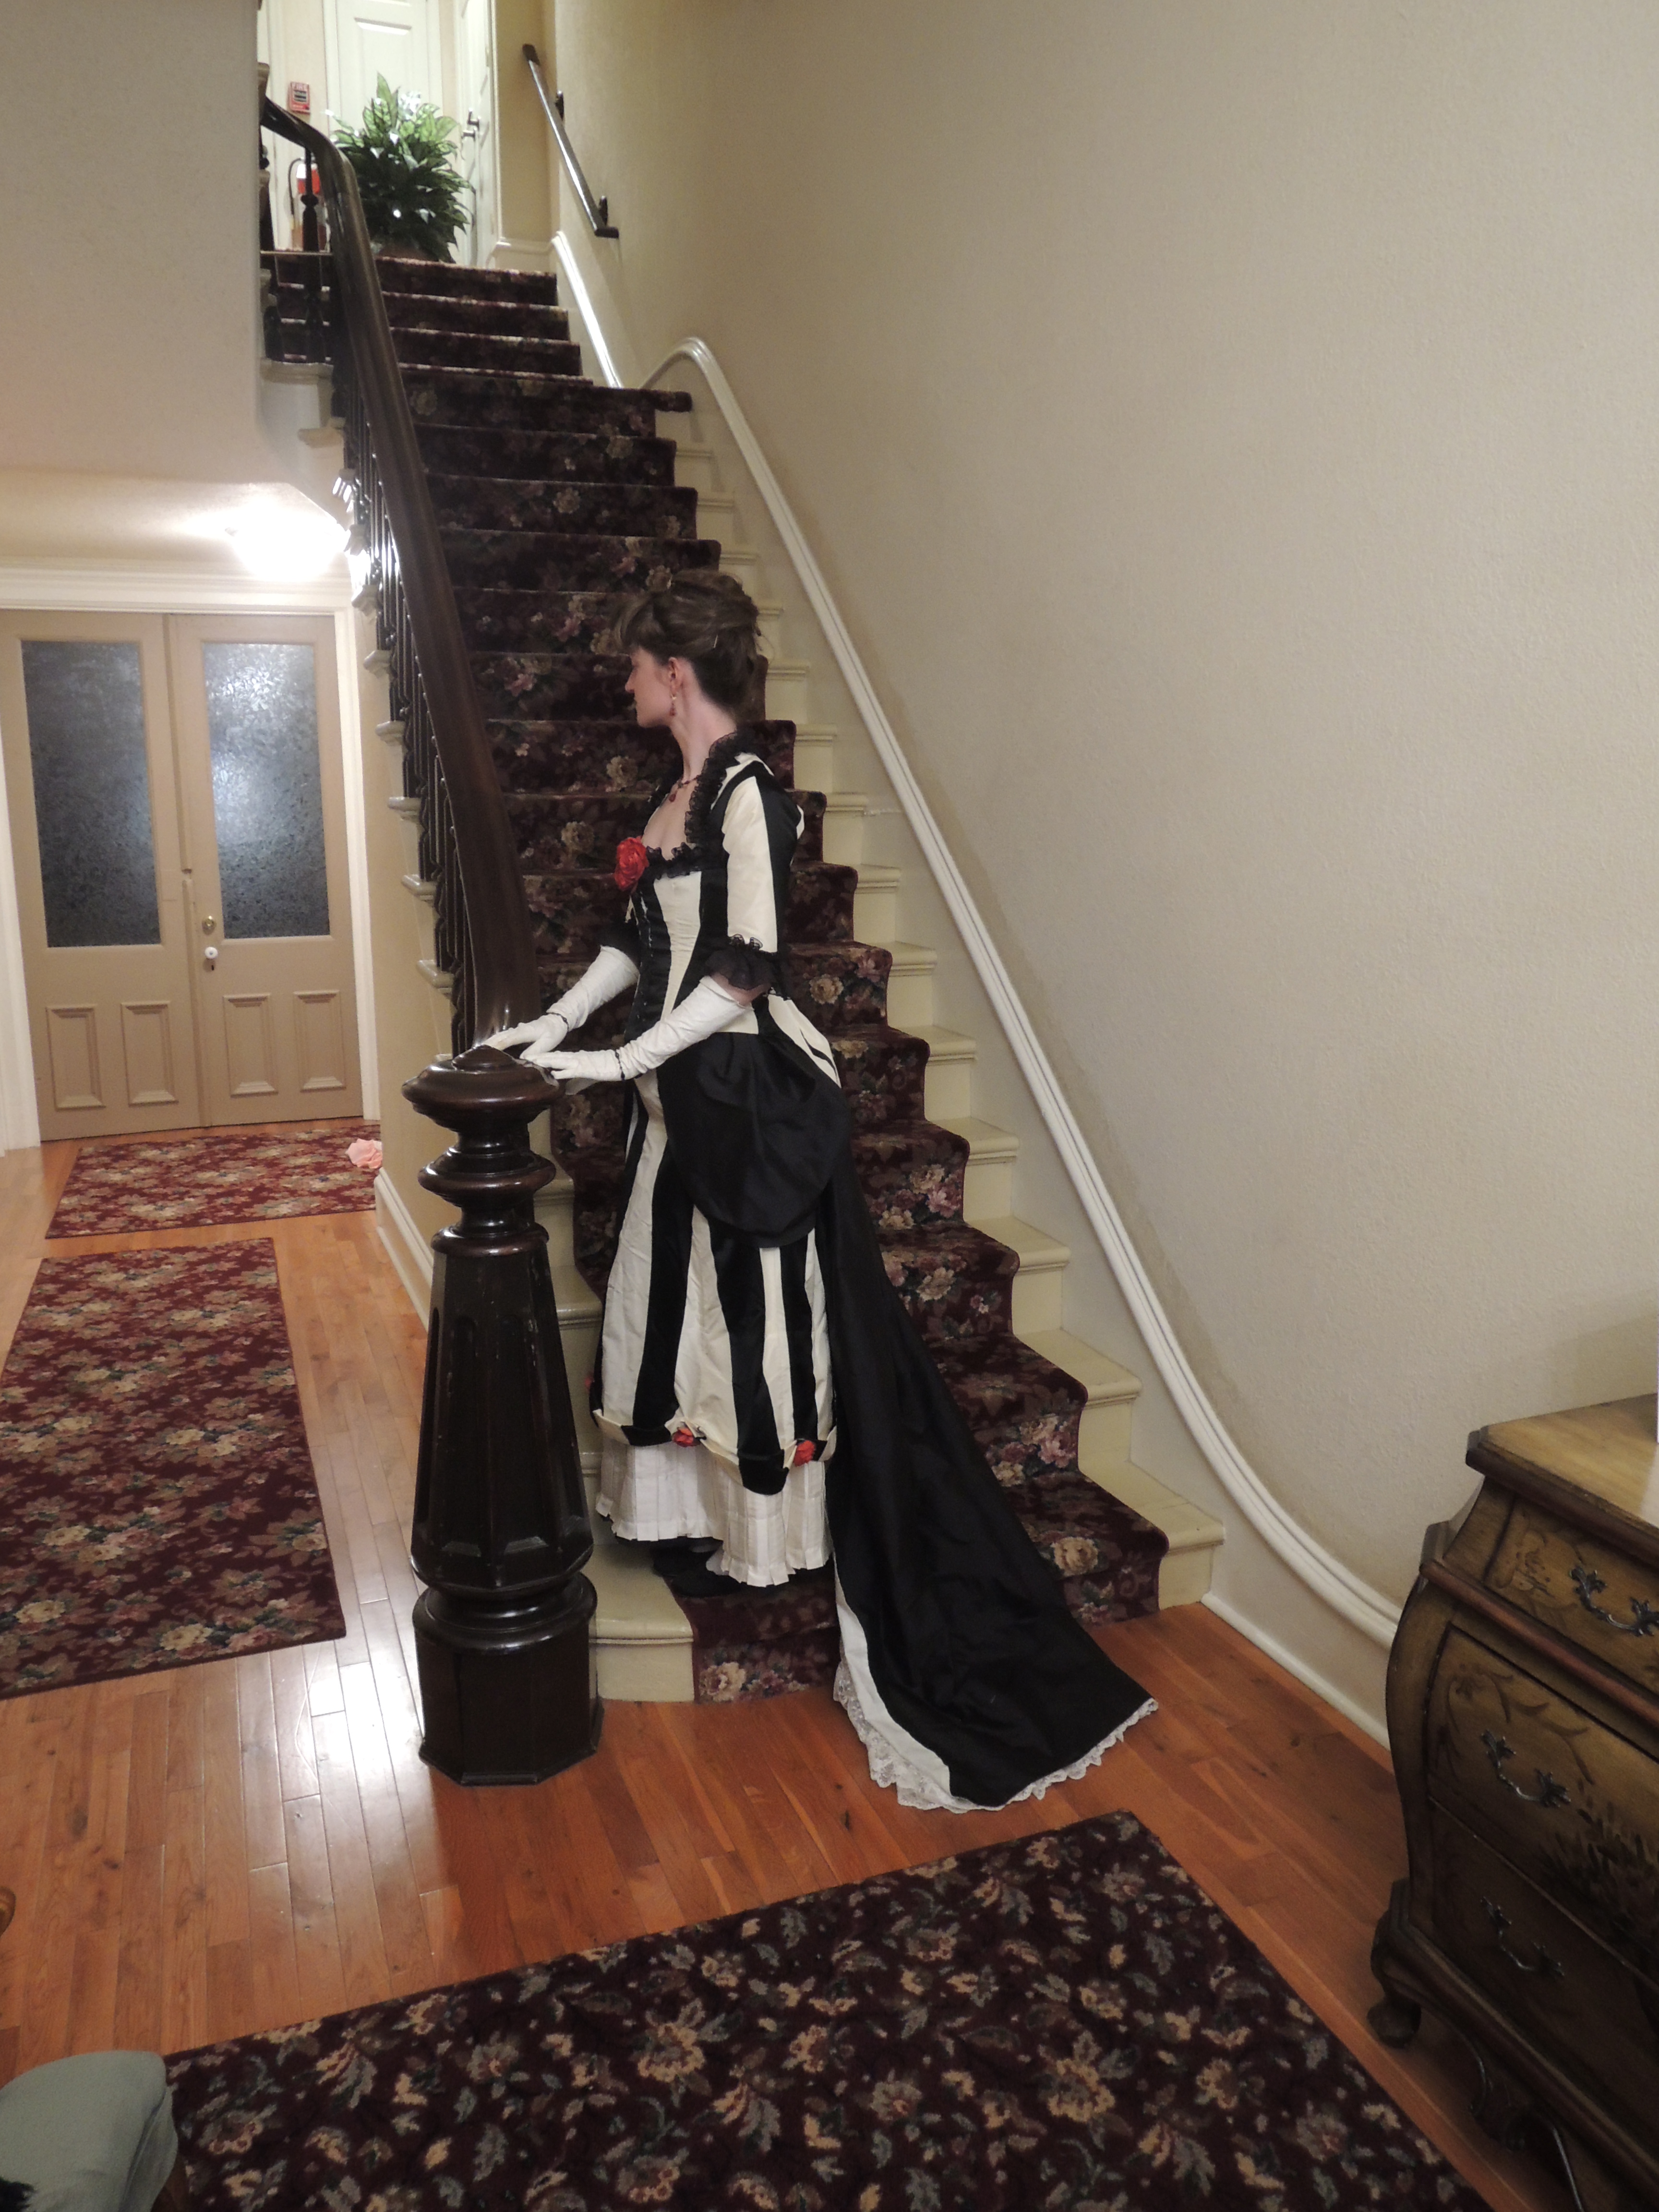 |
| Note creeping train lining. |


 |
| Scandalous! |
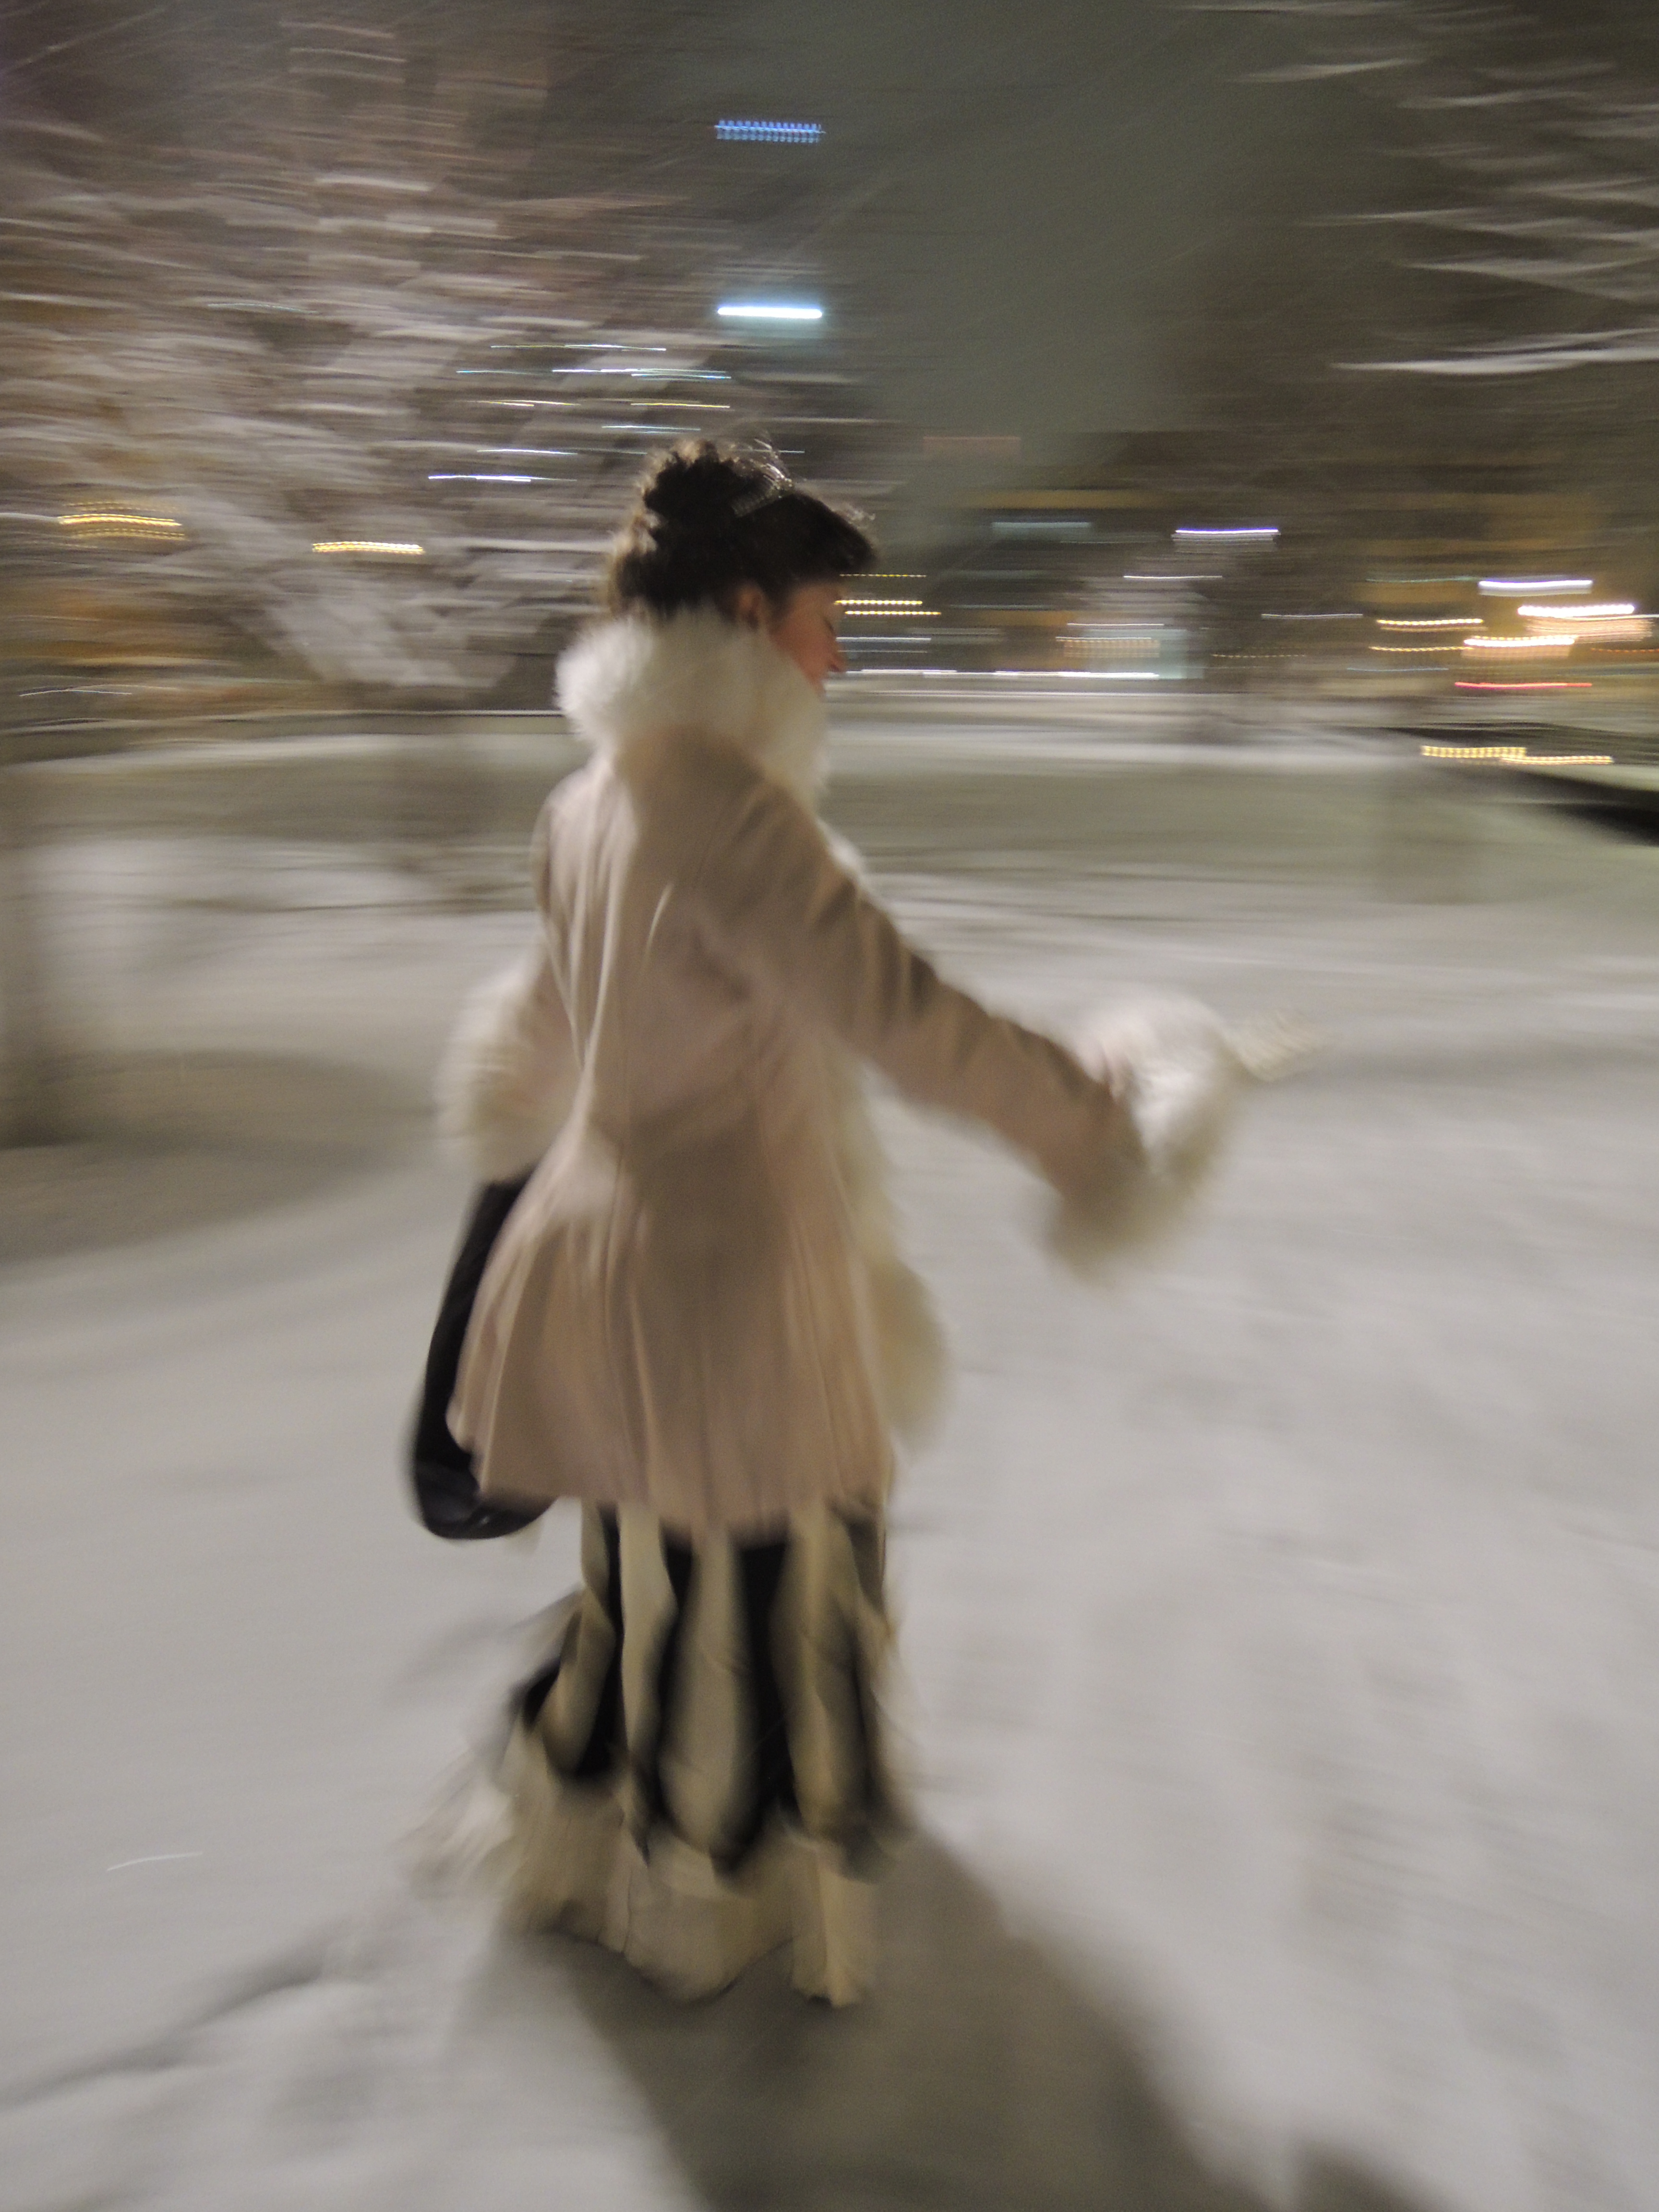 |
| Whee! Onward to moar sewing! |
I love this dress so much! Glue and all.
ReplyDelete