Cream taffeta sack jacket
I'm very pleased I managed to finish this in time to make the Historical Sew Fortnightly deadline! I needed it finished anyway, so this "embellish" challenge gave me a perfect deadline at the perfect time. This almost completes my "breakfast outfit" - just the accessories left to do now!


 The apparently ill-fitting thing underneath the jacket is a waistcoat, and while it fits Mabel the Dummy even less well than usual, I can promise it actually does fit me! (Nor will I actually be lacing the waistcoat with the wildly non-matching green polyester ribbon when I wear it...the red ribbons haven't arrived in the mail yet.)
Basics of the jacket and waistcoat...
- Both are hand sewn, and constructed with 18thc techniques - though the waistcoat's might be fudged a little, as I've never seen one up close, to know exactly how they were constructed. Educated (?) guessing...
- The jacket is made of cream silk taffeta, with self-trimming, and lined in linen. The waistcoat is made of cream silk dupioni (machine-made, so there are very few slubs. Hey, it was cheaper than another yard of the taffeta!), interlined in cotton flannel, and lined in linen.
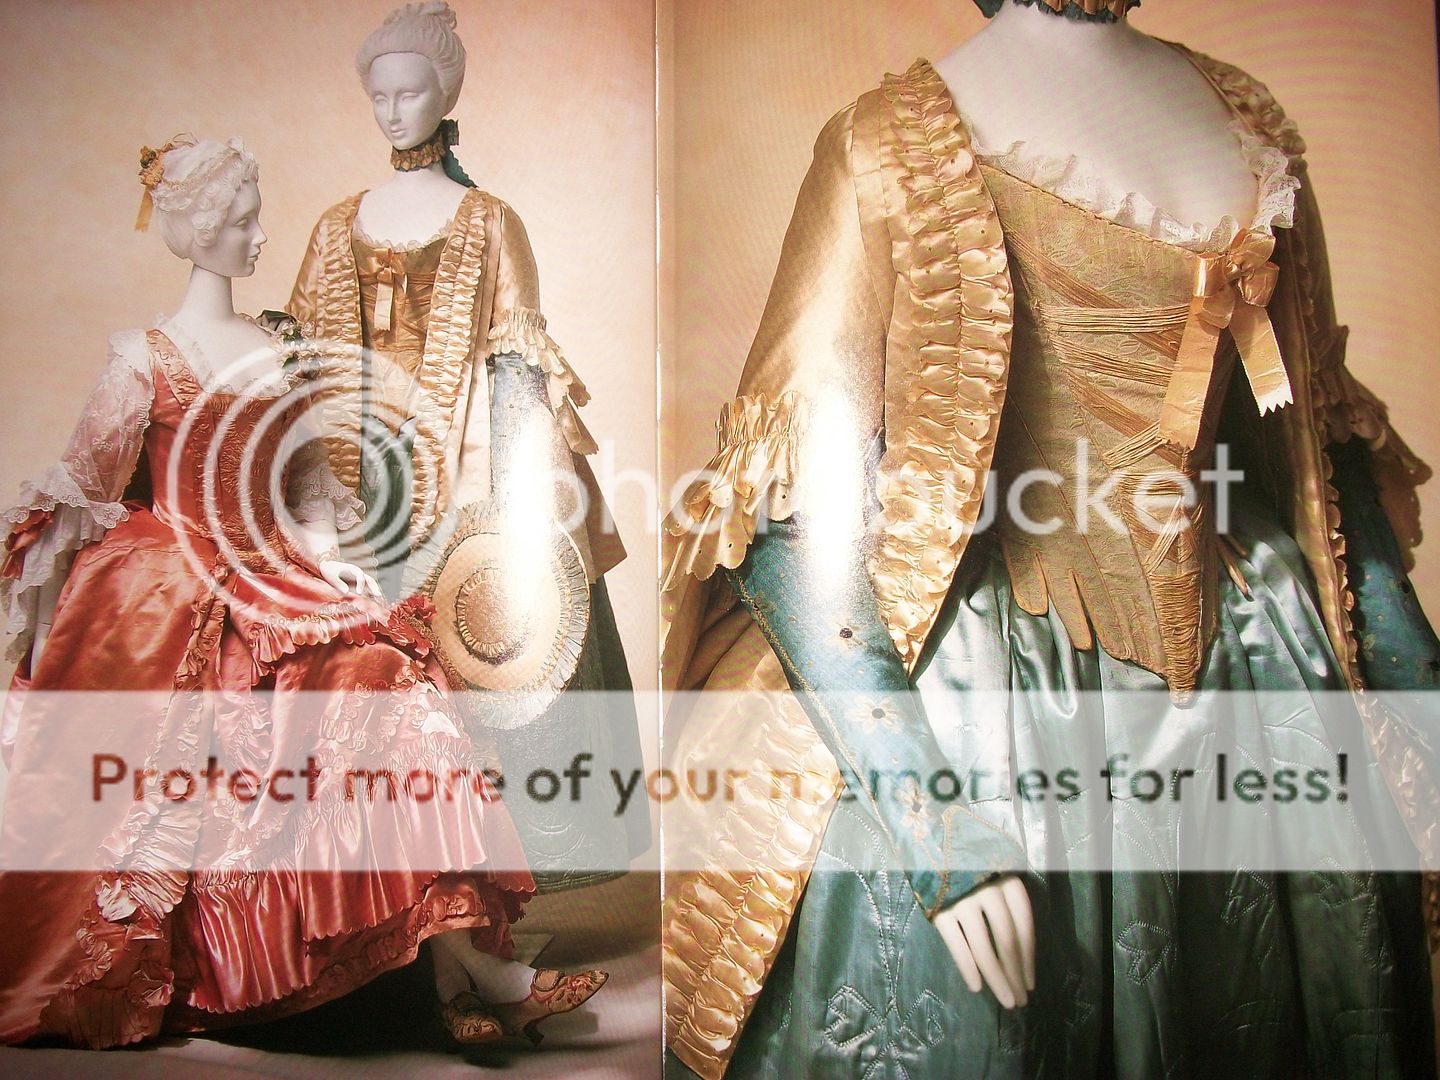
- The jacket - and entire outfit, really - was inspired by this 1760s outfit in the KCI's collection:
 Oh, and there are pennies in the hem to weight it down. This amuses me, probably more than it ought!
 And let's talk trim, since this is the Embellish challenge!
 I copied the shape of the trim from my inspiration image as closely as I could manage (though I liked mine more closely gathered than the original), with the tools I had: regular pinking shears, stork scissors, patience, and no history of wrist problems! I didn't count the hours, and I really should have - it was a fair amount of time!
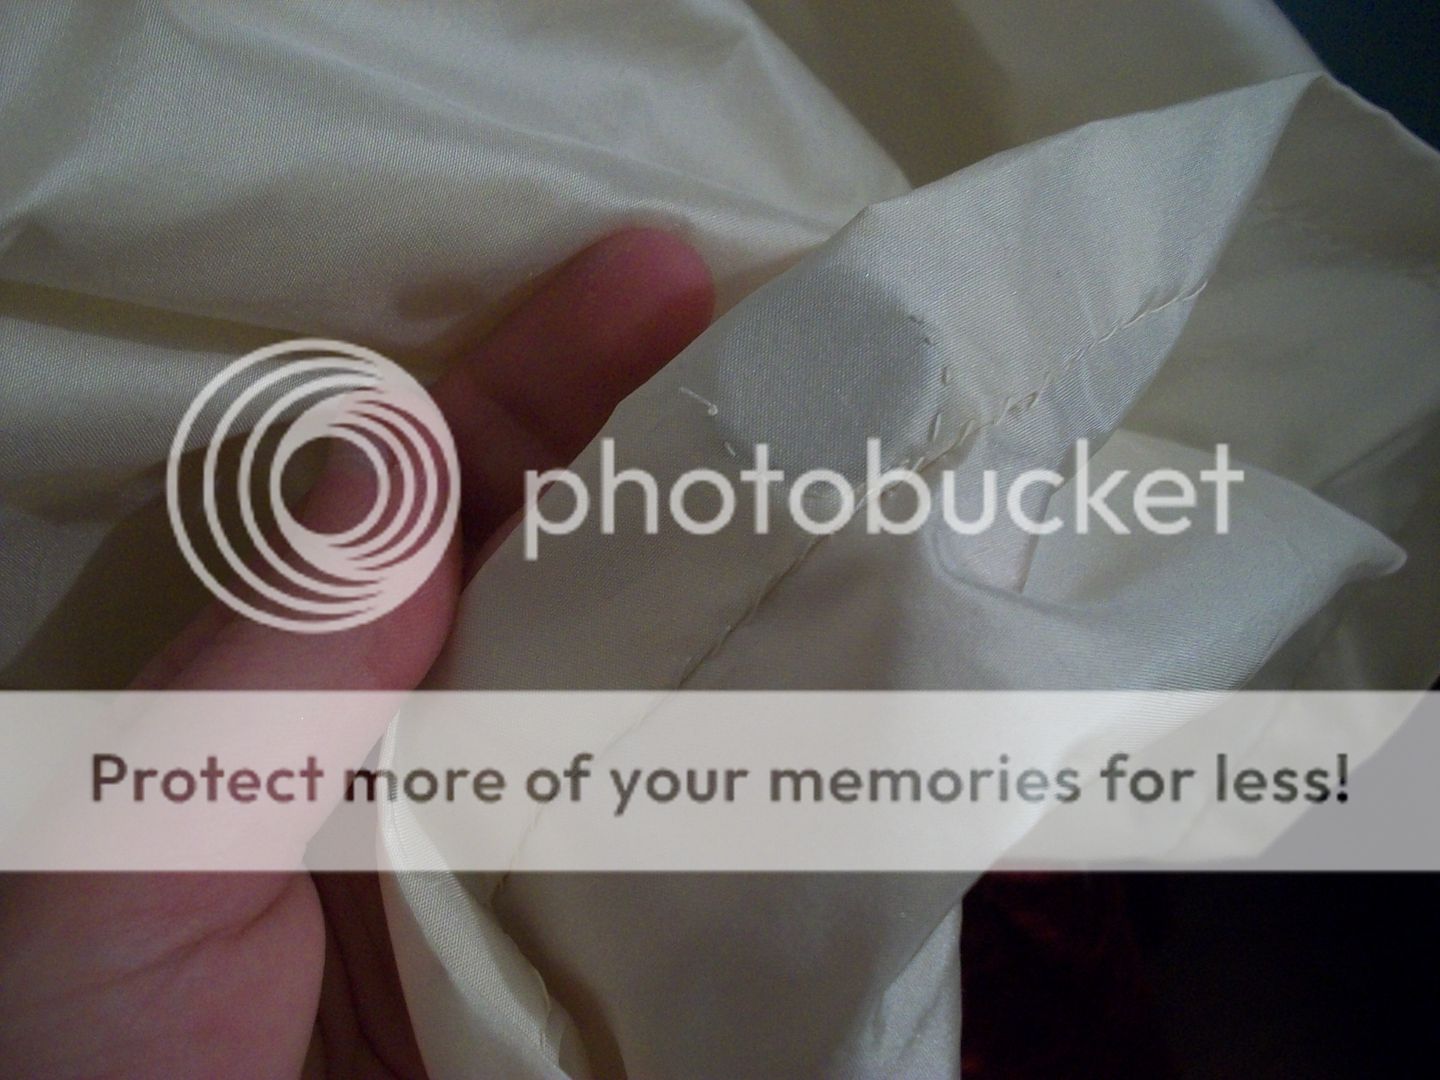
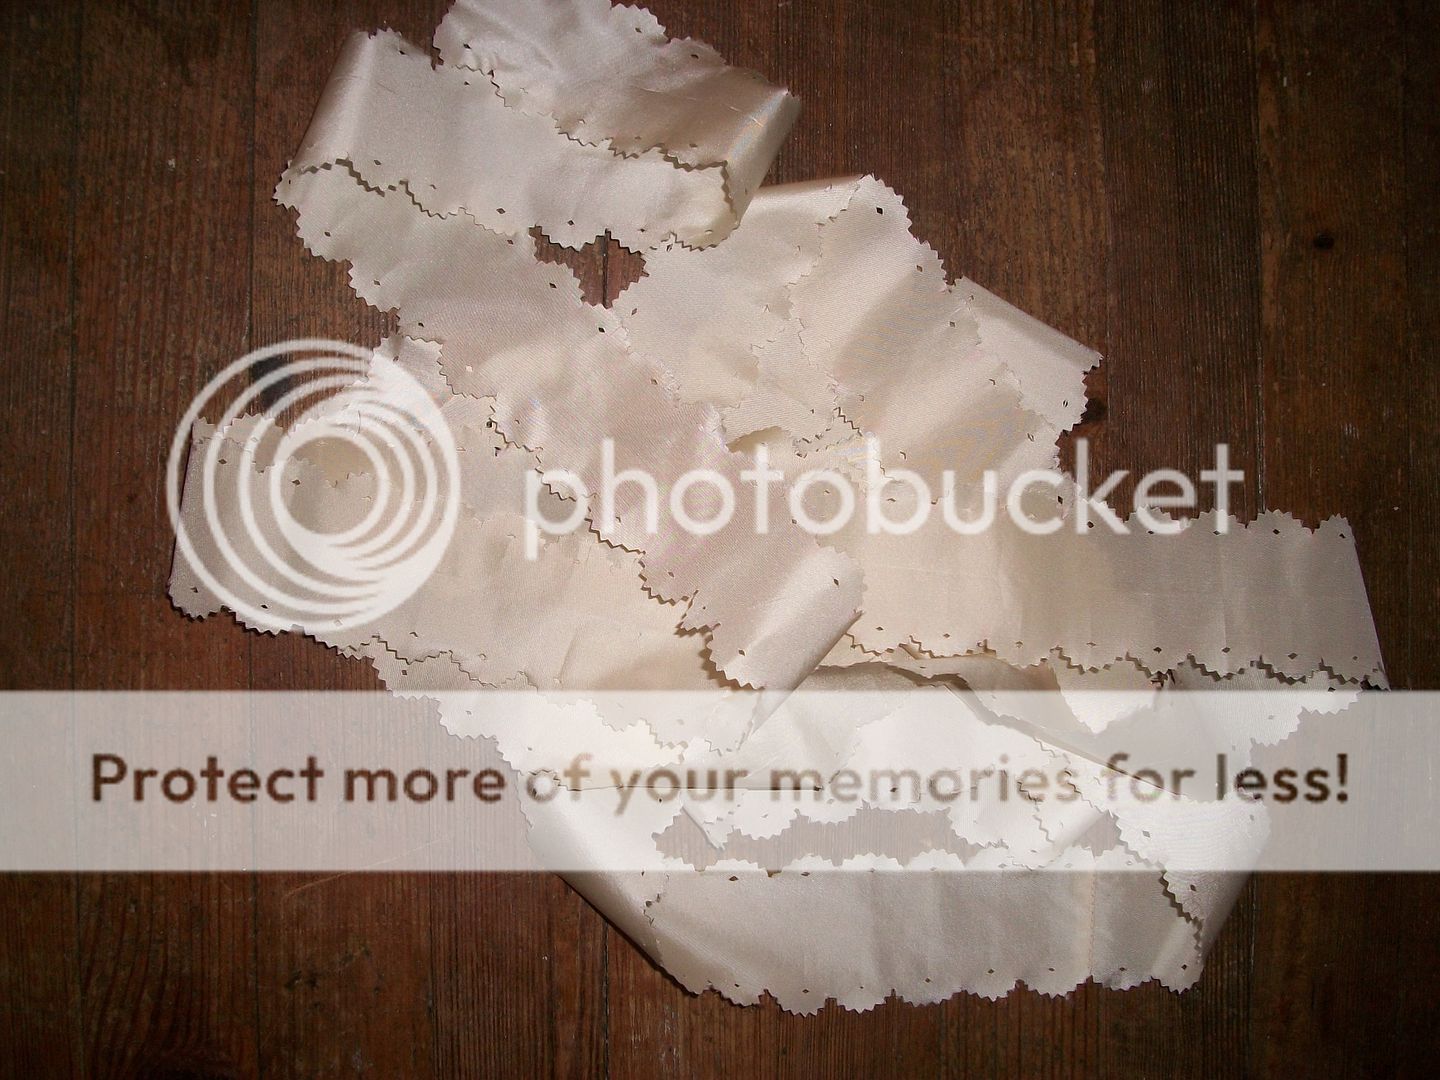
 Showing the process of cutting out all those little scallops... Bottom-left of the strip just has the (nearly invisible) chalk marks, at
one-inch intervals. Then I took little snips at the chalk marks, the
approximate depth I wanted the scallops to be - on the right. Top left
shows the scallops cut out - they're done freehand, and therefore a bit
drunken-looking sometimes. And then I folded each scallop and took tiny
snips out of the center of the scallop. So you can see they're actually
wonky little squares!
Showing the process of cutting out all those little scallops... Bottom-left of the strip just has the (nearly invisible) chalk marks, at
one-inch intervals. Then I took little snips at the chalk marks, the
approximate depth I wanted the scallops to be - on the right. Top left
shows the scallops cut out - they're done freehand, and therefore a bit
drunken-looking sometimes. And then I folded each scallop and took tiny
snips out of the center of the scallop. So you can see they're actually
wonky little squares!
The overall effect's pretty good, though.
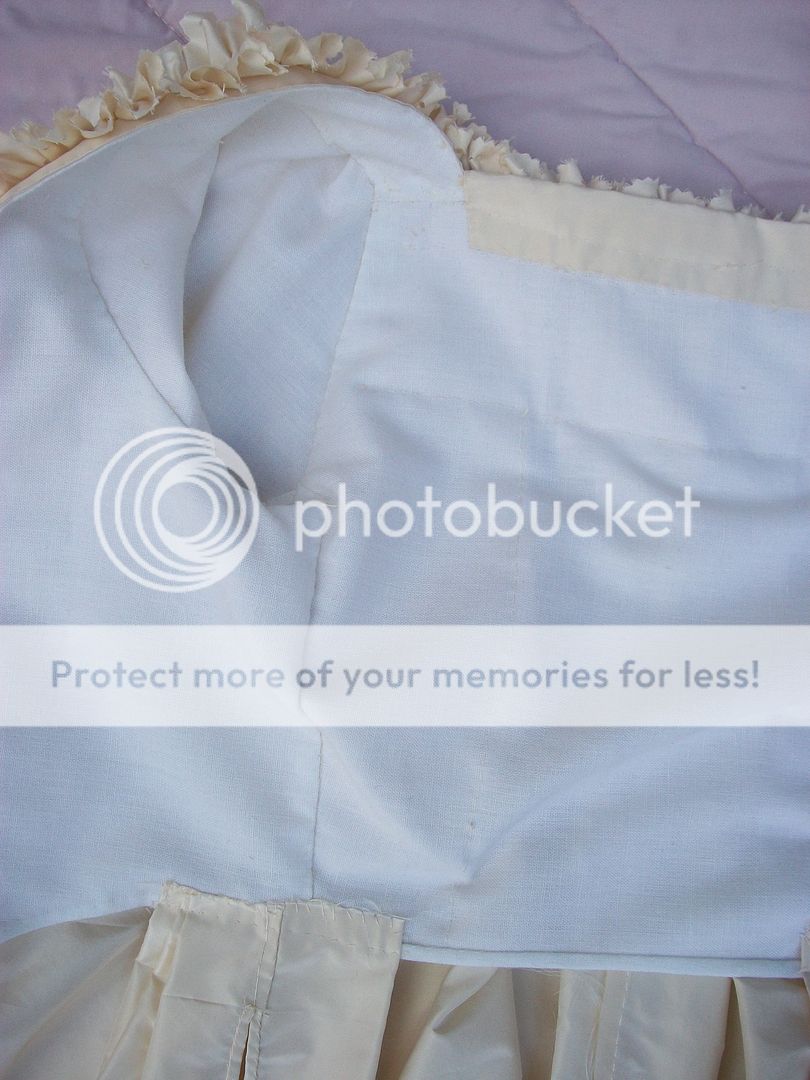
 And then a few pics of the inside of the jacket.

Basics of the jacket and waistcoat...
- Both are hand sewn, and constructed with 18thc techniques - though the waistcoat's might be fudged a little, as I've never seen one up close, to know exactly how they were constructed. Educated (?) guessing...
- The jacket is made of cream silk taffeta, with self-trimming, and lined in linen. The waistcoat is made of cream silk dupioni (machine-made, so there are very few slubs. Hey, it was cheaper than another yard of the taffeta!), interlined in cotton flannel, and lined in linen.
- The jacket - and entire outfit, really - was inspired by this 1760s outfit in the KCI's collection:
The overall effect's pretty good, though.
It's so lovely! I can't wait to see it on you. Your scallops look great. Thanks for showing how you did them and how you made the holes, too. Ingenious!
ReplyDeleteBest,
Quinn
Thanks! I'll be wearing it March 10th, so I promise to post pictures after that! :)
DeleteWow, thanks so much for providing all the info on the trim...I'm not about to go out and buy extra tools but have always wanted to do this, and I definitely have a pair of pinking shears! It's so nice when someone innovates and then shares so the rest of us can benefit!
ReplyDeleteI'm so glad my little explanation is useful to someone! I'm always a little afraid that detailed explanations of things I do are a bit redundant - that everyone knows how to do that already, and they're rolling their eyes and saying, "Duh"...so I'm really really glad it's useful!
DeleteAnd that was exactly my thought - I'm not about to go out and spend $$$ on a pinking tool (that would undoubtedly be just as hard on my wrists!) when I have my $20 shears that will work nearly as well, and get a pretty good approximation of the look.